Achieving a flawless application of our specially formulated adhesive across various materials demands a nuanced approach. This guide ensures you can confidently apply our adhesive to materials ranging from soft fabrics to more rigid substances like metal and acrylic.
Preparation Steps for All Materials:
- Surface Preparation: Select a flat, stable work area and cover it with a protective layer such as a silicone mat or a piece of parchment paper. This prevents any potential heat or adhesive damage to the underlying surface.
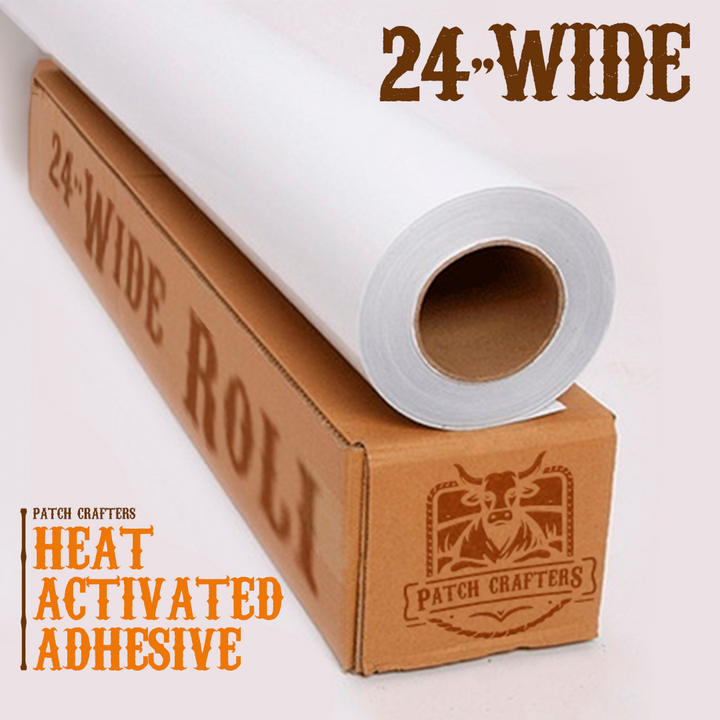
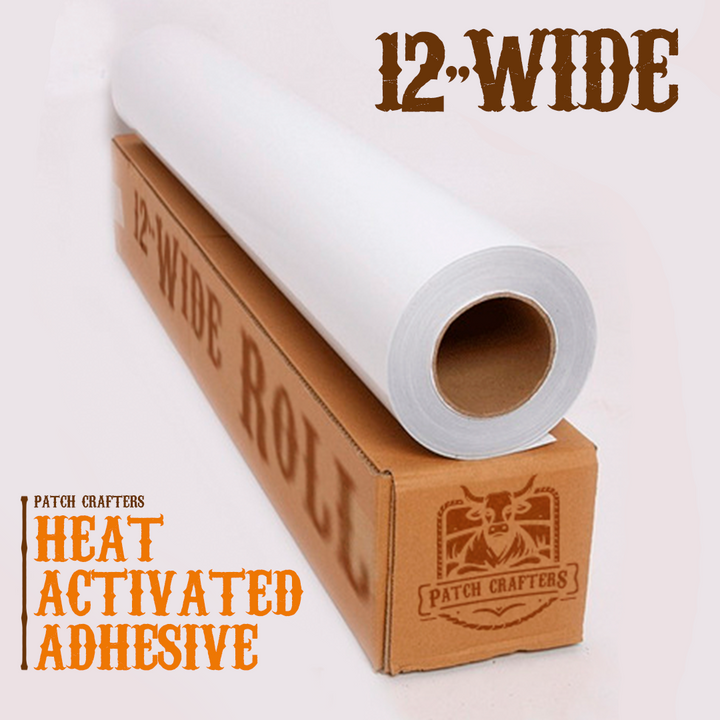
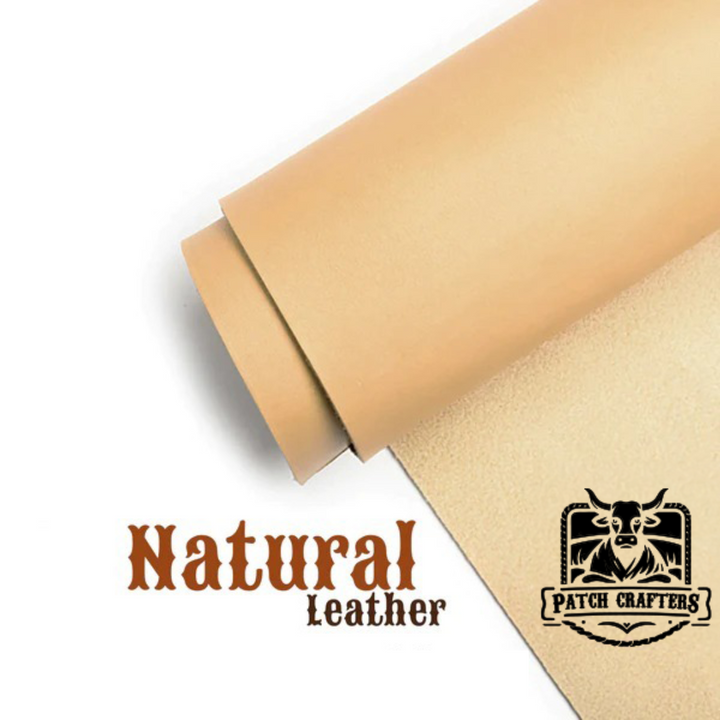
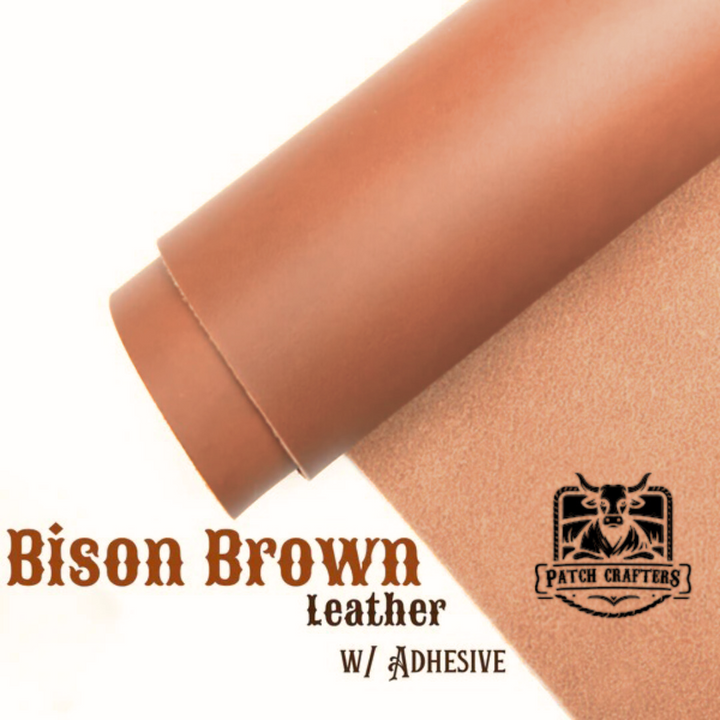
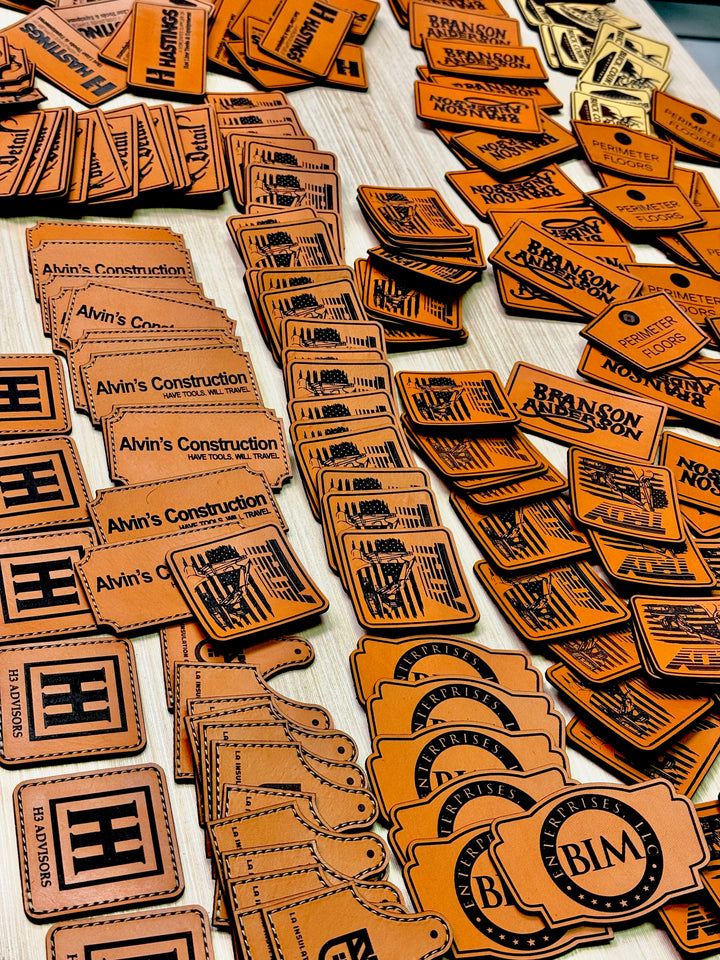
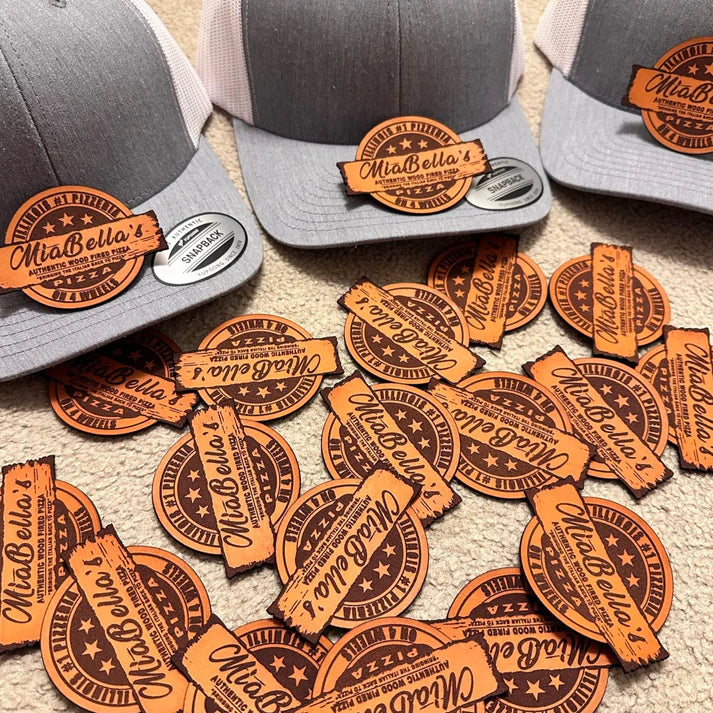
- Material Orientation: For materials like leather or fabric patches, ensure the design side is facing downwards. Align the adhesive film so that its glossy, reactive side directly contacts the 'reverse' side of your material. For firmer materials (e.g., metal, PVC), ensure they are clean and dry before proceeding.
- Adhesive Alignment: Carefully position the adhesive film on the designated area of your material. Aim to start from the material's midpoint, gently smoothing outwards to the edges to minimize any potential for creasing or air bubbles.
Heat Application:
- Adjust your heat press or iron to the medium-high setting, equivalent to the cotton/linen option for traditional irons, ensuring the steam function is disabled.
- Place the material with the adhesive film applied on your prepared surface, adhesive side facing down.
- Apply heat with a steady, circular motion, starting from the center and spiraling outwards. This method helps evenly distribute the adhesive and secures it across the entire surface without creating wrinkles or bubbles.
Cooling and Finishing Touches:
- After the adhesive has been thoroughly applied, allow the material to cool down at room temperature. Avoid rushing this process to ensure the adhesive sets properly.
- For more rigid materials like acrylic or metal, a gentle pressing under a light weight (like a book) can help maintain flatness and promote better adhesion as it cools.
Special Considerations:
- Leather and Leatherette: These materials require a careful balance of heat to avoid warping or discoloration. If uncertain, test a small, inconspicuous area first.
- Acrylic and Metal Patches: Due to their heat sensitivity and rigidity, apply heat more briefly and ensure they are completely cooled under a weight for optimal flatness.
- Fabric Patches: Ensure the fabric is pre-ironed if necessary to remove any creases before applying the adhesive.
By following these customized instructions, you'll achieve a secure and aesthetically pleasing application on any material. This process has been designed to cater to the diverse nature of the materials you may work with, ensuring each project's success. Our customer support team is always available to provide further assistance or clarify any steps in this guide, ensuring your experience is as seamless and productive as possible.