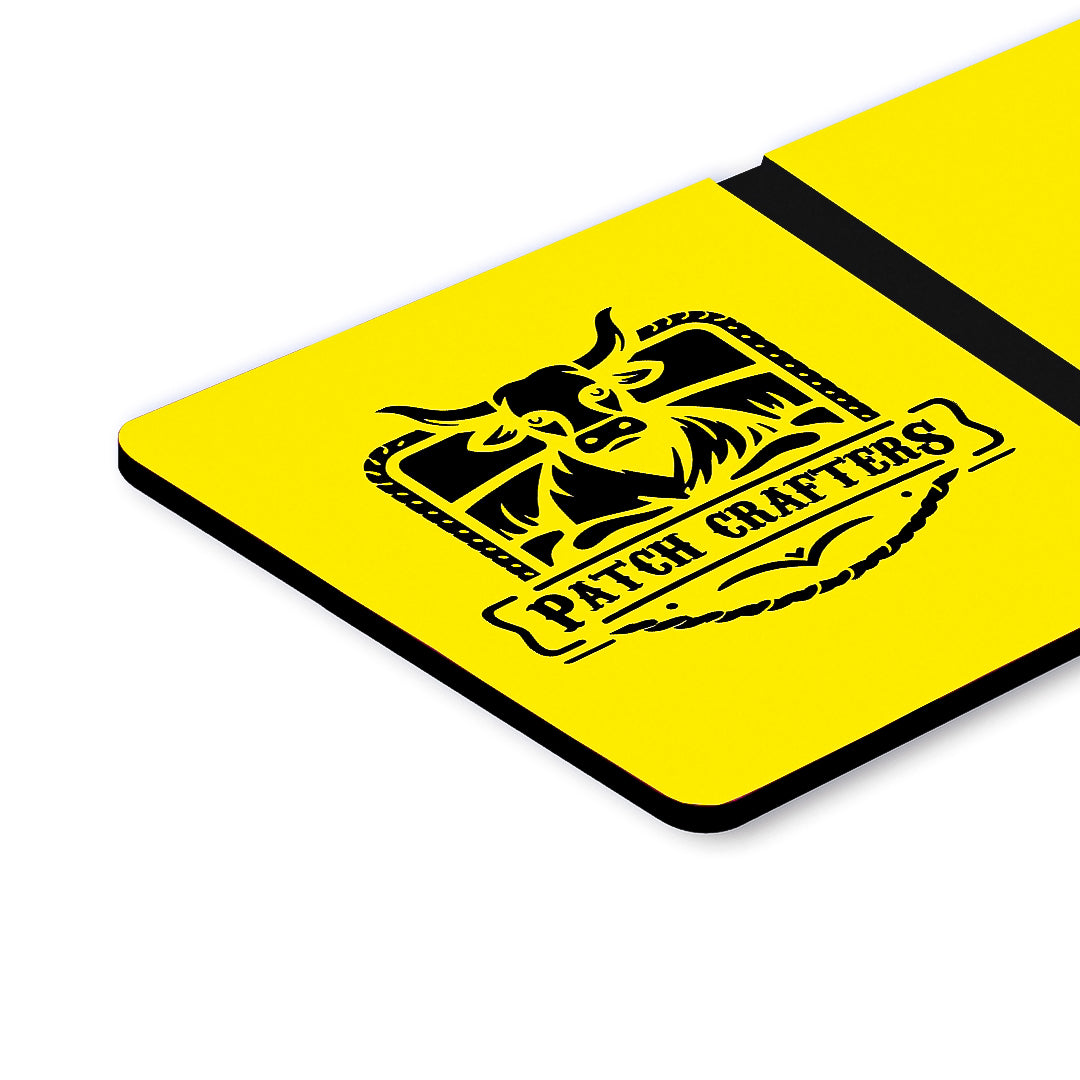
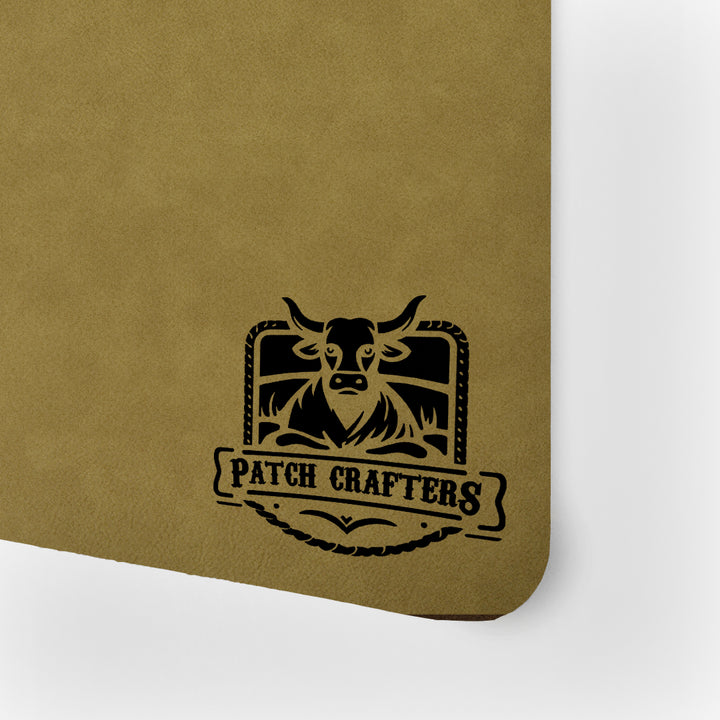
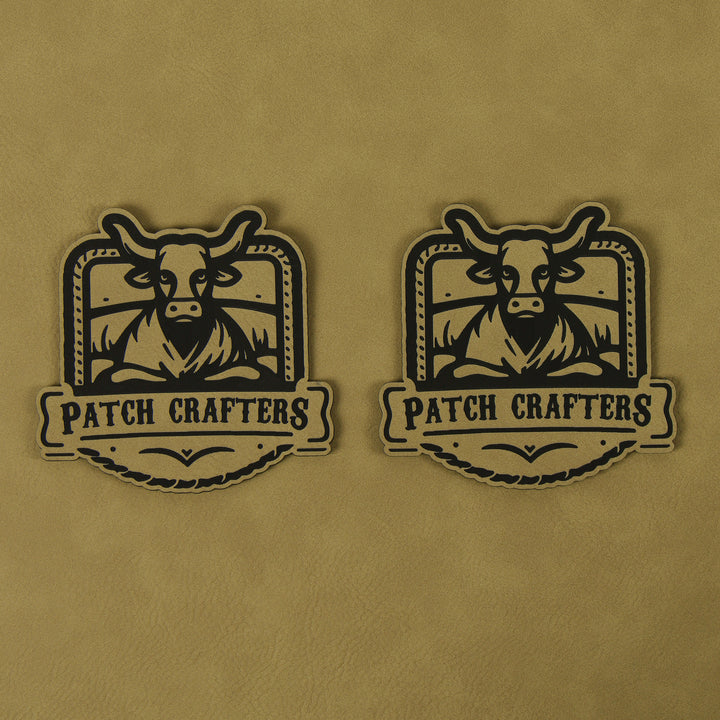
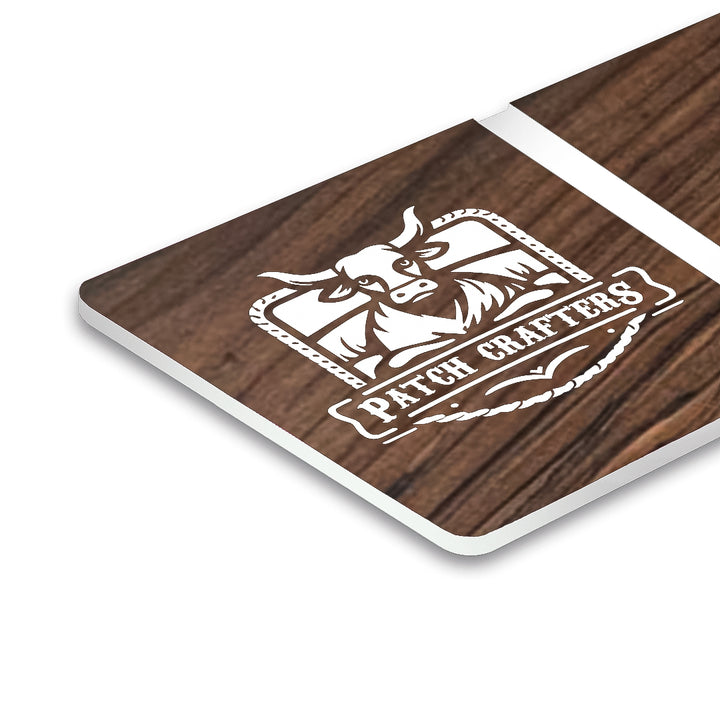
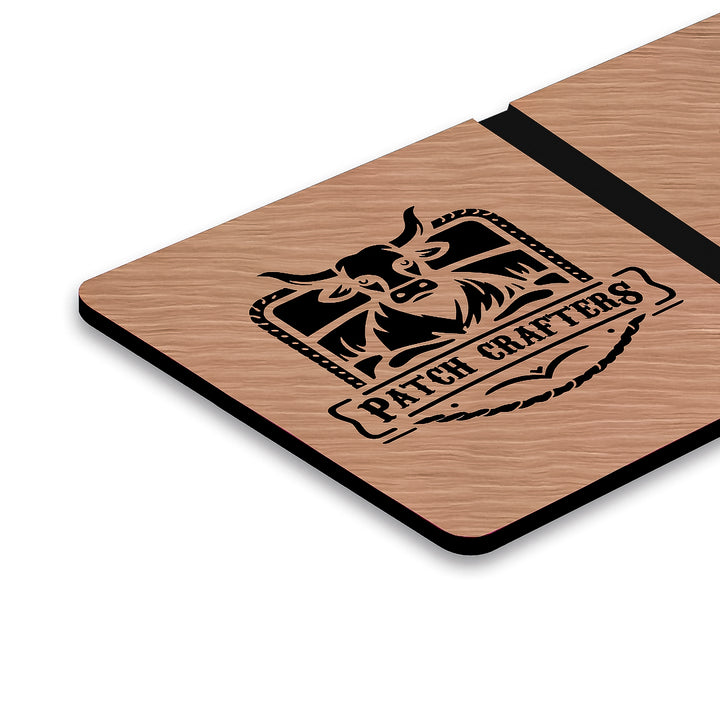
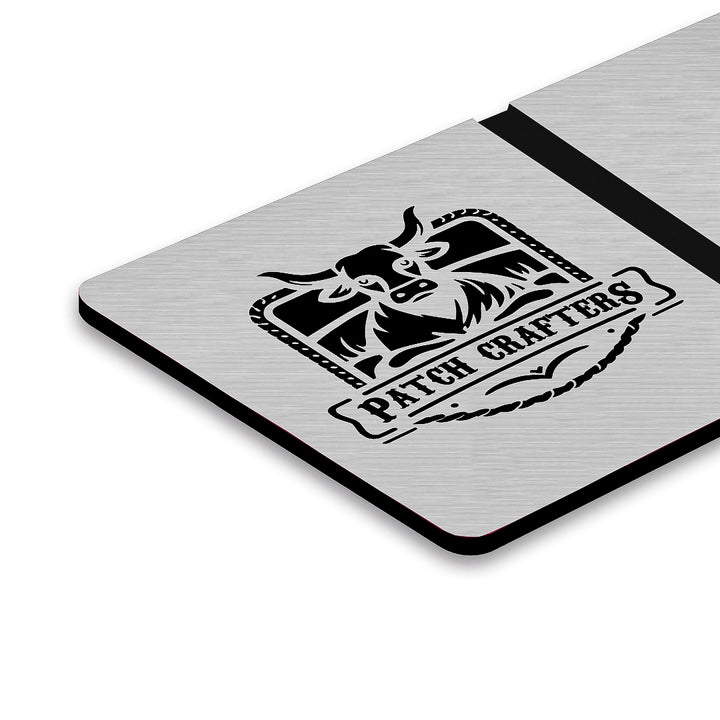
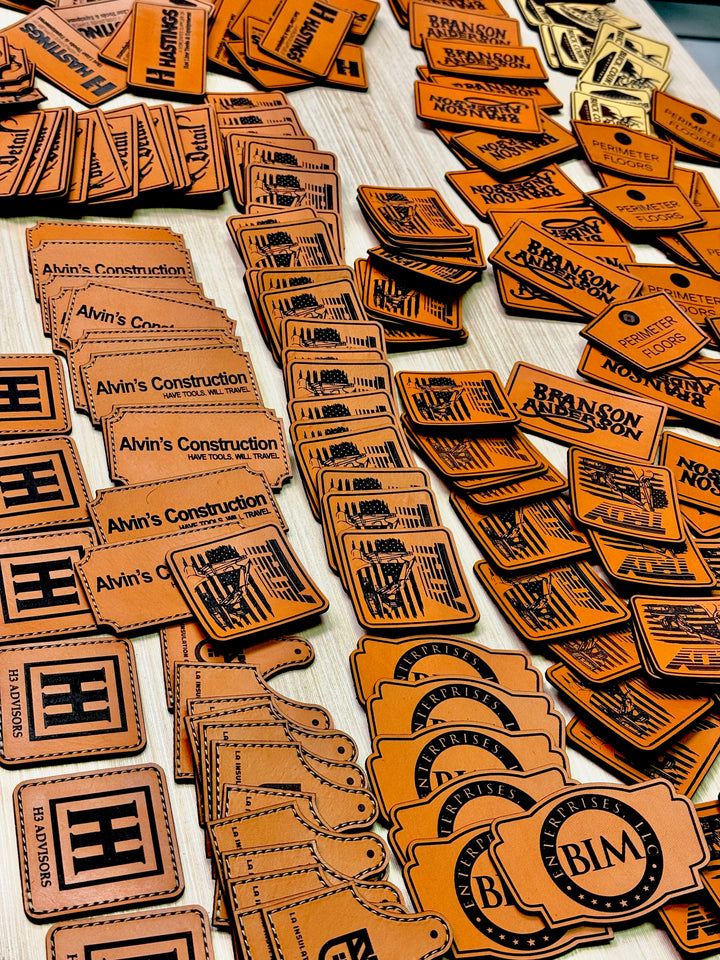
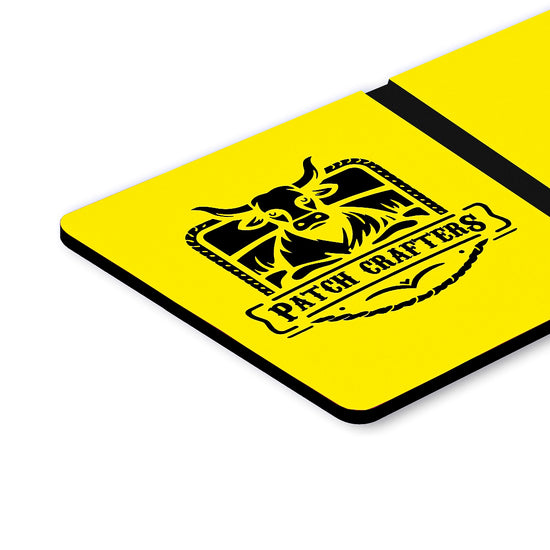
Acrylic Panel - Yellow / Black (12"x24") - 1/16” thickness
Bring a unique experience to your customizations with our Acrylic Panels, a synthesis of impeccable quality and exceptional performance!
Precision-engineered to ensure maximum safety in customizations, our panels are compatible with laser machines, offering unlimited possibilities for your personalizations.
Equipped with an exceptionally high-quality thermal adhesive, it ensures greater convenience and confidence in every project for a secure and lasting fixation.
Note: Acrylic sheets with white backing may not work with diode lasers due to light reflection. They are compatible with CO₂ and fiber lasers.
View Product Information
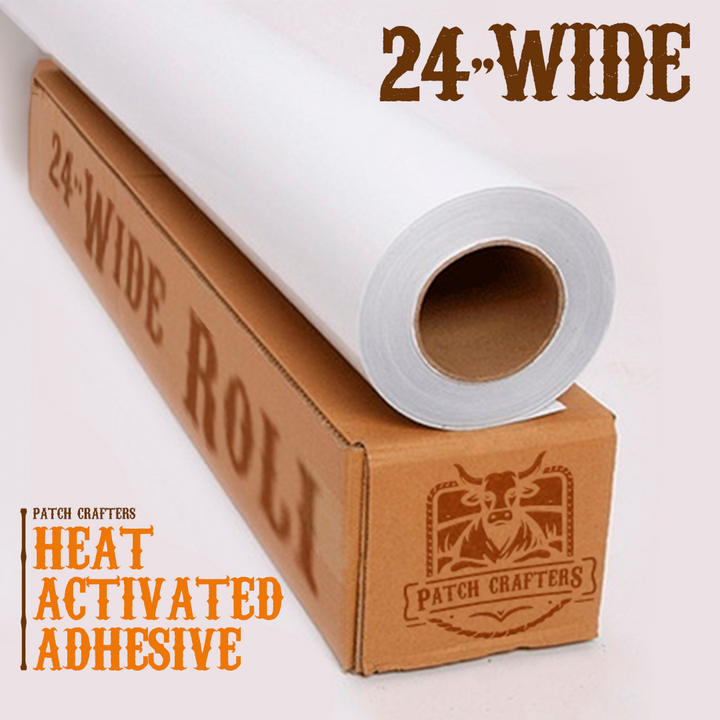
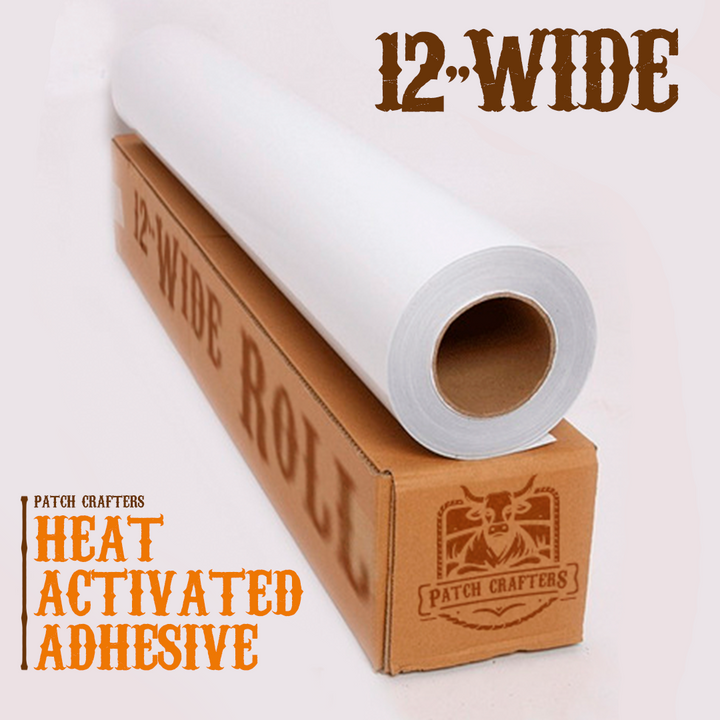
All Acrylic Sheets come with Our Patch Crafters Heat Activated Adhesive
Every sheet you choose is primed for perfection, already equipped with our exclusive PatchCrafters heat-activated adhesive, ready to turn your creative visions into durable realities.
Acrylic User Manual
Introduction
Welcome to your guide on maximizing the potential of PatchCrafters acrylic materials equipped with our premium heat-activated adhesive. This manual is designed to help you achieve flawless applications and stunning results for your projects.
Handling Protective White Paper
The acrylic material comes with a protective white paper on top of the adhesive layer to safeguard it until application. Here’s how to manage this protective layer:
- After Engraving Preference: For optimal results, we recommend removing the protective white paper after engraving. This approach ensures the acrylic's surface remains pristine and undamaged during the engraving process.
- Pre-Removed Paper: If the protective paper has been removed before engraving, proceed with caution. The acrylic can still be engraved successfully, but extra care should be taken to avoid any direct impacts that might compromise its surface quality.
Engraving Guidelines
Achieving the best engraving results on your 1/16" acrylic involves a few key considerations:
- Test and Adjust: Start with a high speed and moderate power setting on your laser engraver, conducting test engravings on scrap material to fine-tune.
- Focus on Quality: Ensure the laser is precisely focused on the acrylic's surface for sharp, detailed results.
- Incremental Approach: Adjust the engraving settings incrementally based on the outcomes of your tests, aiming for a smooth, matte finish.
Applying the Heat-Activated Adhesive
Our acrylic material's heat resistance is a significant advantage, ensuring durability and longevity. However, it also means adjusting your heat application approach:
- Increased Heat Requirement: Apply more heat compared to other materials. The acrylic requires approximately 15 extra seconds of heat to activate the adhesive effectively, ensuring a secure bond.
- Even Distribution: Ensure the heat is evenly distributed across the entire surface of the acrylic to activate the adhesive uniformly.
- Final Application: After applying the necessary heat, allow the acrylic to cool down before handling it further. This cooling period ensures the adhesive sets properly, providing a strong, lasting bond.
Frequently Asked Questions
Is it normal to see wrinkles on the protective white paper?
Yes, it's normal to observe wrinkles on the protective white paper. These do not affect the quality of the adhesive or the final application.
Can I still engrave the acrylic if the protective paper is removed?
Yes, engraving can proceed without the protective paper, but take care to protect the acrylic's surface during the process.
How do I achieve consistent engraving on acrylic?
Consistent results come from testing and adjusting your machine's settings, focusing on high speed and moderate power, and ensuring the laser is correctly focused for the acrylic's thickness.
How much extra heat does the acrylic need?
The acrylic requires approximately 15 extra seconds of heat compared to other materials to activate the adhesive due to its heat resistance.
Conclusion
With PatchCrafters acrylic materials and heat-activated adhesive, your projects will stand out in quality and durability. By following this manual, you’re equipped to handle the intricacies of working with this versatile material, from engraving to application. For further assistance or questions, our customer support team is always ready to help.
How to apply acrylic patches using different types of heat presses?
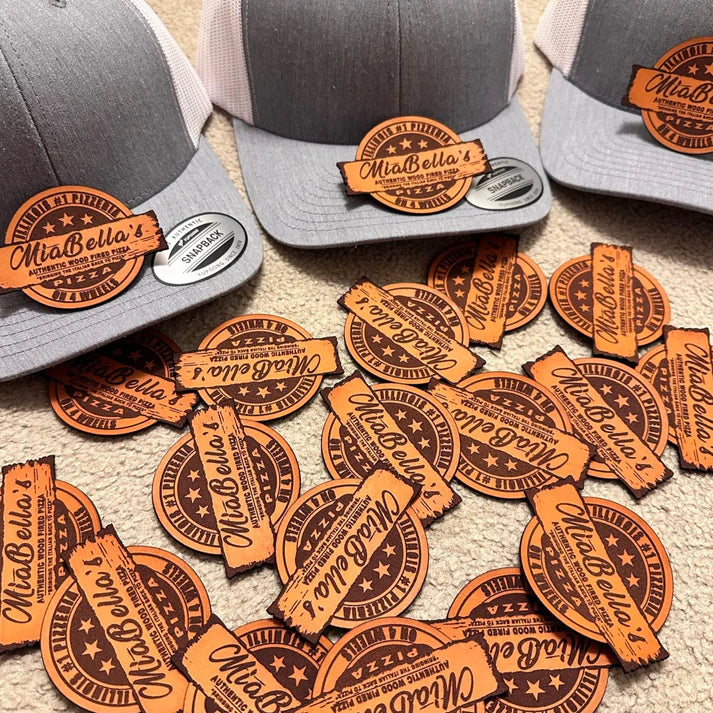
Applying acrylic patches to hats requires a nuanced approach, especially considering their need for more heat compared to other materials. Below, we outline detailed instructions for both single and double heat plate presses, ensuring your acrylic patches bond securely and seamlessly to your garments.
Single Heat Plate Press (e.g., Vevor):
- Initial Press: Begin by preheating the hat for 30 seconds at 300°F. This step is crucial to prepare the fabric, ensuring it's receptive to the acrylic patch.
- Applying the Patch: Position the acrylic patch on the preheated section and apply the press again for 45 seconds at 300°F. This targeted heat application activates the adhesive, ensuring a solid bond with the fabric.
Double Heat Plate Press (e.g., Hotronix 360 IQ, Chinese Model):
- Option 1: Adjust the top plate to 260°F-270°F°F and the bottom plate to 320°F-330°F. Press with medium pressure for 40 seconds. This method provides a consistent and efficient bond across the entire patch.
- Option 2 (Double Press Method): Initially, heat the patch area for 30 seconds to activate the adhesive slightly. Then, position the acrylic patch and apply a second round of heat for 35 seconds. This staggered heating process can further enhance the adhesive's effectiveness.
Important Considerations:
- It's imperative to ensure the acrylic patches are completely dry before application. Moisture can significantly impact the effectiveness of the heat transfer.
- If the patch does not adhere properly after the initial application, it may indicate a need for increased heat. Adjust the heat settings or pressing time accordingly, based on your observations.
By adhering to these guidelines, you are set to achieve a high-quality, durable application of acrylic patches on hats. The success of applying acrylic patches hinges on the precision of heat settings and application timing, specifically adjusted for the heat-resistant nature of acrylic. Should you face any challenges or have further inquiries about your heat press model, our dedicated customer support team is on standby to offer expert guidance and assistance.
What is the best way to clean acrylic patches after engraving?
One of the most effective methods we've found for cleaning engraved acrylic patches involves using isopropyl alcohol. This solvent is excellent for cleaning because it does not react with the acrylic, ensuring that the material remains undamaged. To achieve the best results, apply a small amount of isopropyl alcohol to a paint brush and gently rub the engraved areas. This technique helps remove any dust or residue embedded in the engravings, restoring the acrylic's shiny and vibrant appearance.
For an additional touch of care and to enhance the look of your acrylic patches, we recommend applying a protectant after cleaning. A product like MEGUIAR'S® 15812 Ultimate Black Plastic Restorer or any other automotive protectant is ideal. This protectant not only gives the acrylic a deeper color and lasting shine, but it also protects against the elements, enduring through washing and rain for weeks. This combination of cleaning with isopropyl alcohol followed by the application of a quality protectant will ensure your acrylic patches look pristine and well-maintained.
How can I adjust my engraving settings for the best results on acrylic?
When working with acrylic, achieving that pristine, frosted appearance characteristic of laser engraving involves a careful balance of your machine’s settings. Begin with your engraver's recommended baseline settings for acrylic materials. The goal is to adjust these settings to prevent the material from melting while ensuring the engraved design is crisp and clear.
- Speed and Power Balance: Start with a higher speed setting and a moderate power level. This combination aims to engrave the surface without generating excessive heat that can lead to melting or warping.
- Incremental Adjustments: Conduct test engravings on a piece of acrylic scrap. Adjust the power and speed incrementally, noting how each change affects the quality of the engraving. You’re looking for settings that leave a smooth, matte finish without altering the acrylic's flat surface.
- Observation and Fine-tuning: Pay attention to the clarity and depth of each test engraving. The optimal settings should achieve your desired effect without compromising the material’s integrity or appearance.
- Consistent Focus: Ensure the laser's focus is precisely adjusted. A properly focused laser is crucial for achieving detailed and sharp engraving results.
By methodically testing and adjusting, you’ll identify the perfect settings for engraving on acrylic with your specific machine. This tailored approach ensures that each project reflects the high quality and precision your work is known for, without being constrained by the variability of preset machine settings.
Is it normal for the adhesive to come with wrinkles behind acrylic panels?
Yes, it is absolutely normal to observe some wrinkling of the adhesive when it's applied behind acrylic patches. This phenomenon occurs due to the differences in material properties between the adhesive and the acrylic. The adhesive is designed to be flexible to accommodate various applications and surfaces, while acrylic is a more rigid material.
Importantly, these wrinkles in the adhesive do not compromise the quality or durability of the patch once applied. Once the adhesive is pressed and the patch is affixed to the garment or item, the slight imperfections become negligible, having no impact on the adhesive's performance or the overall appearance of the patch.
Our products are rigorously tested to ensure they meet high standards of quality and durability, ensuring that such characteristics of the adhesive do not affect the utility or aesthetic appeal of the final application. Should you have any further questions or need assistance with your project, our customer support team is always here to help.
How to effectively cut white acrylic with diode laser machines?
Cutting white acrylic with a diode laser machine poses unique challenges due to the color's high reflectivity, which causes most of the laser light to be reflected away instead of being absorbed by the material. Here are some strategies to enhance your cutting results:
- Adjust Laser Settings: Increase the power and decrease the speed of your laser machine. This allows the laser to deliver more energy to the material, compensating for the lack of absorption.
- Use Multiple Passes: Instead of attempting to cut through the acrylic in one go, try several passes with the laser at lower power settings. This method helps prevent burning and ensures a cleaner cut over time.
- Change the Base Color: Place the white acrylic on a darker surface. This might help absorb some of the laser light that passes through the acrylic, reflecting it back and aiding in the cutting process.
- Apply a Protective Coating or Dyes: Temporarily adding a dark dye or a protective coating that can absorb laser light to the surface of the white acrylic may significantly improve cutting efficiency. Ensure any materials used are safe and do not produce toxic fumes when laser-cut.
- Consider Alternative Lasers: Diode lasers may not always be the best tool for cutting white acrylic due to their light wavelength. A CO2 laser, which operates at a different wavelength, is generally more effective at cutting light-colored acrylics and might be a better choice for regular use.
- Testing is Key: Always experiment with these techniques on scrap pieces first to determine the most effective settings and methods for your specific project needs without wasting material.
By understanding these limitations and adjusting your approach, you can enhance the cutting performance of diode lasers on white acrylic, though it may still require some experimentation to find the perfect settings. If precise cuts on white acrylic are frequently needed, investing in or using a CO2 laser might be the most reliable solution.
Are there any toxic fumes released when engraving acrylic sheets?
Our acrylic sheets are engineered to ensure safety during engraving, and they do not produce toxic fumes. However, the process can emit a noticeable odor, which some may find unpleasant. To ensure a comfortable and safe working environment, we strongly recommend conducting all engraving activities in a well-ventilated area. Additionally, using an effective fume extraction system can greatly reduce the presence of odors and enhance overall air quality in your workspace. Following these safety guidelines will help manage any odors produced while keeping your crafting area safe and pleasant.
View Product Details
Bring a unique experience to your customizations with our Acrylic Panels, a synthesis of impeccable quality and exceptional performance!
Precision-engineered to ensure maximum safety in customizations, our panels are compatible with laser machines, offering unlimited possibilities for your personalizations.
Equipped with an exceptionally high-quality thermal adhesive, it ensures greater convenience and confidence in every project for a secure and lasting fixation.
Note: Acrylic sheets with white backing may not work with diode lasers due to light reflection. They are compatible with CO₂ and fiber lasers.
