
Patch Crafters Adhesive Sheet (12"x24")
Introducing the Patch Crafters Adhesive Sheet 12"x24" – Your Ultimate Solution for High-Quality Patch Attachment
Whether you're a seasoned patch hat creator or a DIY enthusiast venturing into the world of patch hats and beanies, the Patch Crafters Adhesive Sheets 12"x24" are here to revolutionize your craft. These thermal activated adhesive sheets ensure a permanent, superior bond that sets the industry benchmark for reliability and strength.
Key Features:
- Versatility: Perfectly suited for a wide array of materials including genuine and faux leathers, acrylics, hardwood veneers, and more, our adhesive supports your creative endeavors across diverse laserable substrates.
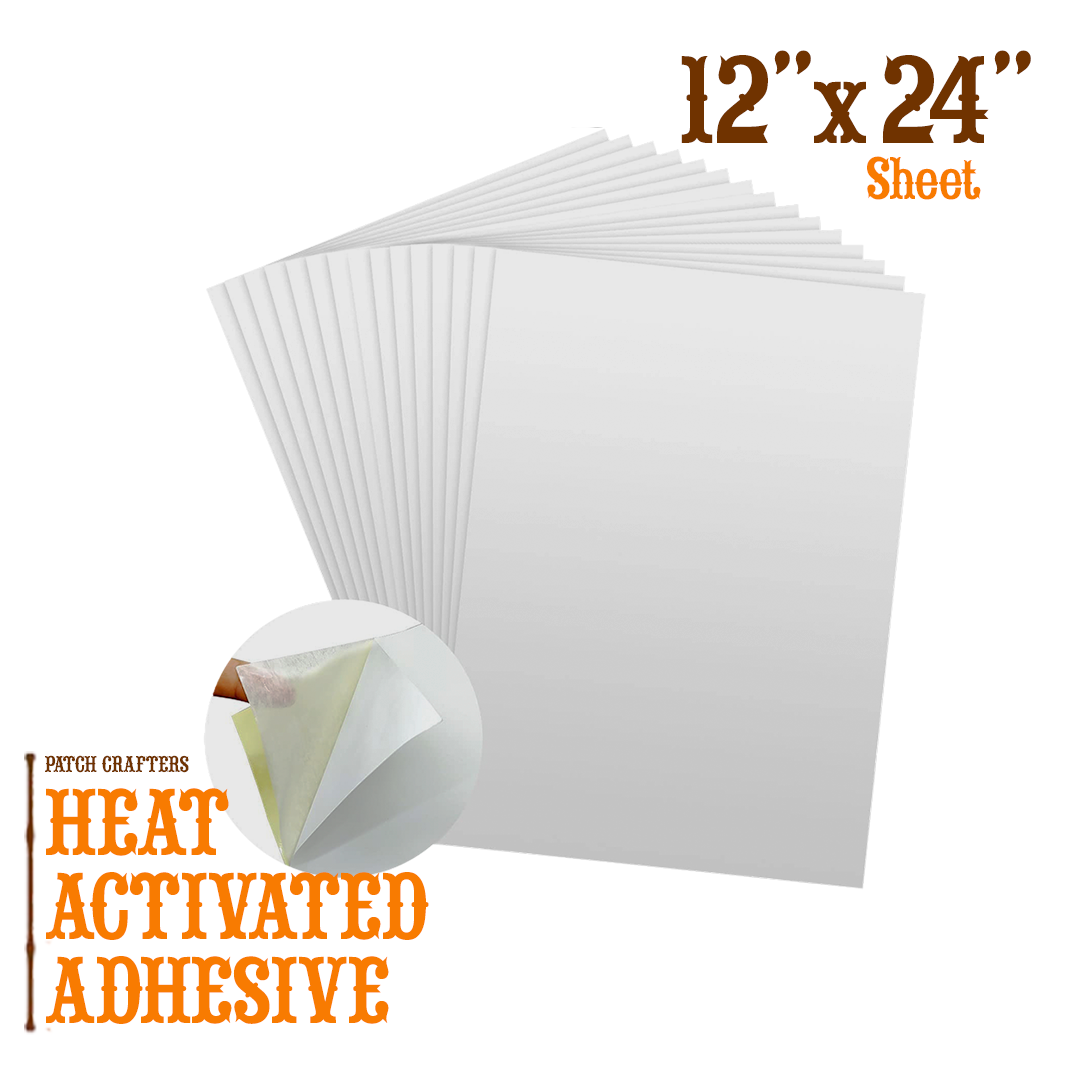
- Optimal Size & Thickness: Each sheet measures 12"x24", providing ample coverage for projects big or small.
- Superior Performance: Crafted from a top-grade Patch Crafters Adhesive, it stands out as the highest performing adhesive in today's market, with a melting point of 200°F for secure application.
- Safe & Efficient: NON TOXIC and designed for both laser cutting and industrial applications, our adhesive is skin and laser safe, ensuring a worry-free experience. Note: For industrial purposes only. Avoid ingestion or intentional inhalation.
- Waterproof & Durable: Proven to withstand conditions like sweat, labor, and weather elements, making it ideal for patches on items that face the outdoors or intense use.
- Wide Compatibility: Excellently bonds with materials like polyester, polycotton, nylon, Lycra, ABS, and more, providing flexibility for your projects. (See compatibility list for full details.)
- Easy Application: Achieve a non-tacky, strong bond when heated, compatible with household irons and clamshell style heat presses. Detailed application instructions ensure optimal results without the hassle of sewing.
Every 12"x24" sheet is designed to adhere approximately 72 standard 3" x 2" patches, offering ample coverage for your projects. Remember, Patch Crafters Adhesive does not have a tacky surface pre-heat, necessitating a heat source (t-shirt press preferred) for activation.
A Message from Patch Crafters:
At Patch Crafters, backed by rigorous testing, we're proud to present the adhesive sheet that streamlines your patch application process. Not only does it save time and money by offering an alternative to sewing, but it also allows you to press all shapes and sizes with ease.
Should you have any questions, our dedicated team is here to help. Contact us anytime for support tailored to your needs. Dive into the world of efficient and reliable patch attachment with Patch Crafters Adhesive Sheets 12"x24", and let your creativity soar to new heights!
Important details before you order
Achieving a flawless application of our specially formulated adhesive across various materials demands a nuanced approach. This guide ensures you can confidently apply our adhesive to materials ranging from soft fabrics to more rigid substances like metal and acrylic.
Preparation Steps for All Materials
- Surface Preparation: Select a flat, stable work area and cover it with a protective layer such as a silicone mat or a piece of parchment paper. This prevents any potential heat or adhesive damage to the underlying surface.
- Material Orientation: For materials like leather or fabric patches, ensure the design side is facing downwards. Align the adhesive film so that its glossy, reactive side directly contacts the 'reverse' side of your material. For firmer materials (e.g., metal, PVC), ensure they are clean and dry before proceeding.
- Adhesive Alignment: Carefully position the adhesive film on the designated area of your material. Aim to start from the material's midpoint, gently smoothing outwards to the edges to minimize any potential for creasing or air
Heat Application
- Adjust your heat press or iron to the medium-high setting, equivalent to the cotton/linen option for traditional irons, ensuring the steam function is disabled.
- Place the material with the adhesive film applied on your prepared surface, adhesive side facing down.
- Apply heat with a steady, circular motion, starting from the center and spiraling outwards. This method helps evenly distribute the adhesive and secures it across the entire surface without creating wrinkles or bubbles.
Cooling and Finishing Touches
- After the adhesive has been thoroughly applied, allow the material to cool down at room temperature. Avoid rushing this process to ensure the adhesive sets properly.
- For more rigid materials like acrylic or metal, a gentle pressing under a light weight (like a book) can help maintain flatness and promote better adhesion as it cools.
Special Considerations
- Leather and Leatherette: These materials require a careful balance of heat to avoid warping or discoloration. If uncertain, test a small, inconspicuous area first.
- Acrylic and Metal Patches: Due to their heat sensitivity and rigidity, apply heat more briefly and ensure they are completely cooled under a weight for optimal flatness.
- Fabric Patches: Ensure the fabric is pre-ironed if necessary to remove any creases before applying the adhesive.
By following these customized instructions, you'll achieve a secure and aesthetically pleasing application on any material. This process has been designed to cater to the diverse nature of the materials you may work with, ensuring each project's success. Our customer support team is always available to provide further assistance or clarify any steps in this guide, ensuring your experience is as seamless and productive as possible.
Adhesive for Custom Work
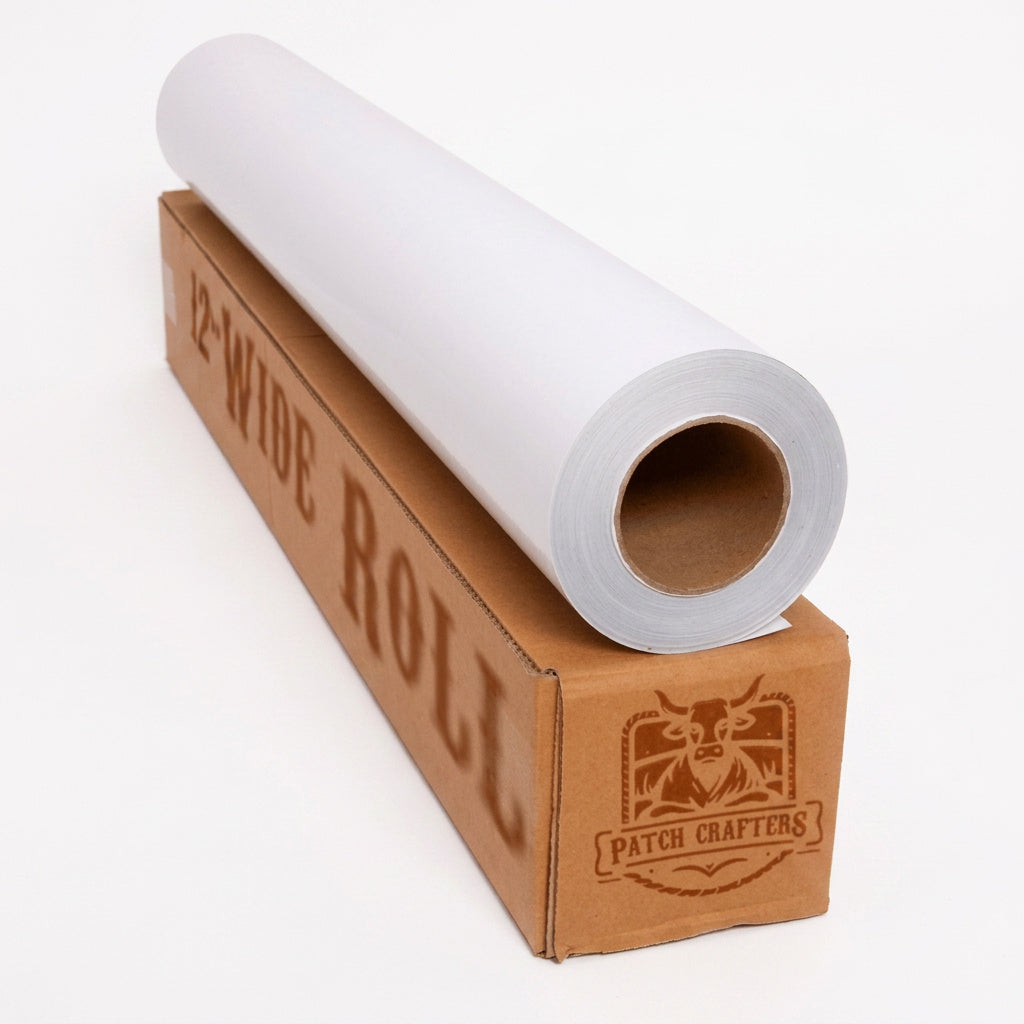
Heat-activated adhesive sheets and rolls built to support clean applications, strong bonds, and professional-grade finished products.
Versatility
Perfectly suited for a wide array of materials including genuine and faux leathers, acrylics, hardwood veneers, and more, our adhesive supports your creative endeavors across diverse laserable substrates.
Superior Performance
Crafted from a top-grade Patch Crafters Adhesive, it stands out as the highest performing adhesive in today's market, with a melting point of 200°F for secure application.
Waterproof & Durable
Proven to withstand conditions like sweat, labor, and weather elements, making it ideal for patches on items that face the outdoors or intense use.