How can I adjust my engraving settings for the best results on acrylic?
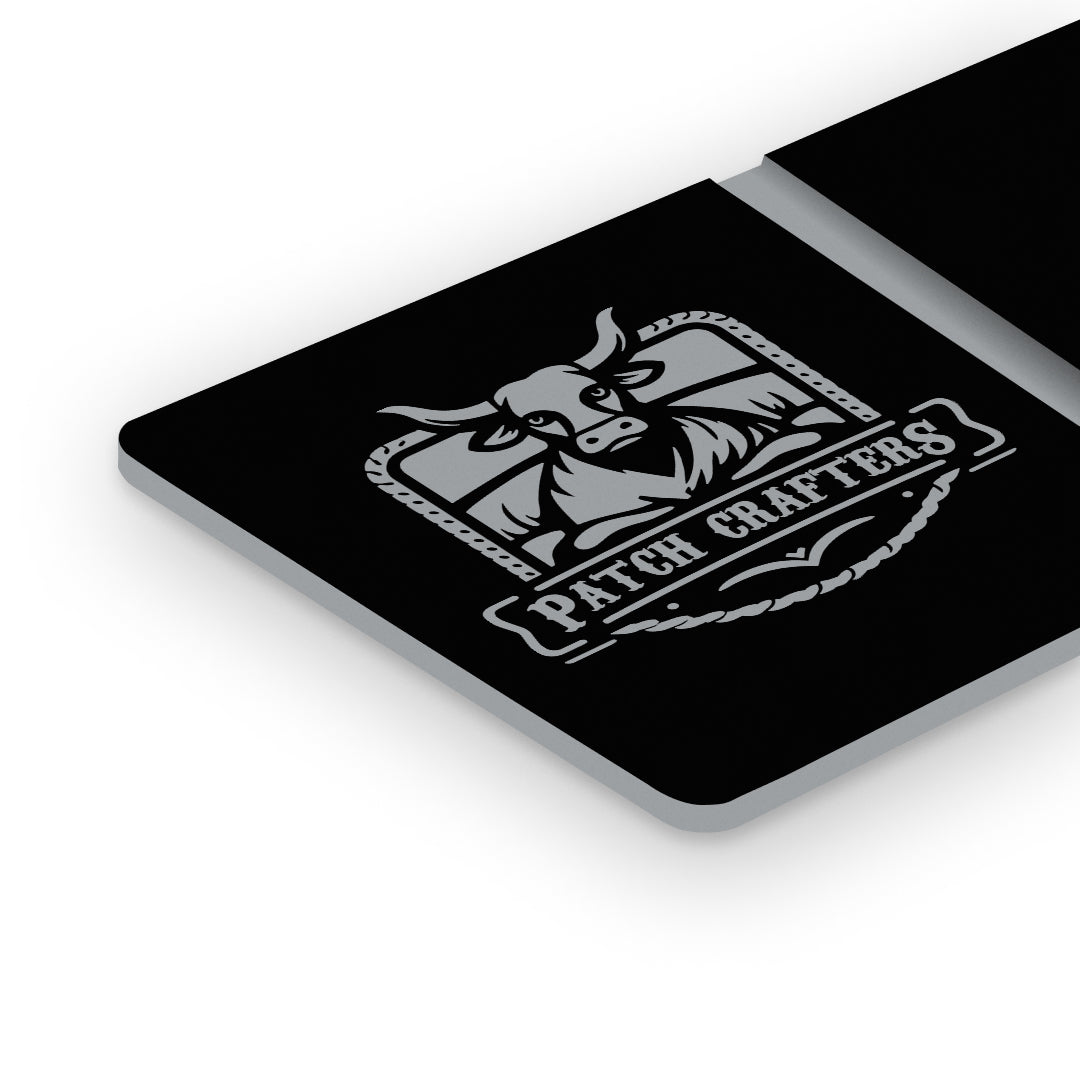
When working with acrylic, achieving that pristine, frosted appearance characteristic of laser engraving involves a careful balance of your machine’s settings. Begin with your engraver's recommended baseline settings for acrylic materials. The goal is to adjust these settings to prevent the material from melting while ensuring the engraved design is crisp and clear.
- Speed and Power Balance: Start with a higher speed setting and a moderate power level. This combination aims to engrave the surface without generating excessive heat that can lead to melting or warping.
- Incremental Adjustments: Conduct test engravings on a piece of acrylic scrap. Adjust the power and speed incrementally, noting how each change affects the quality of the engraving. You’re looking for settings that leave a smooth, matte finish without altering the acrylic's flat surface.
- Observation and Fine-tuning: Pay attention to the clarity and depth of each test engraving. The optimal settings should achieve your desired effect without compromising the material’s integrity or appearance.
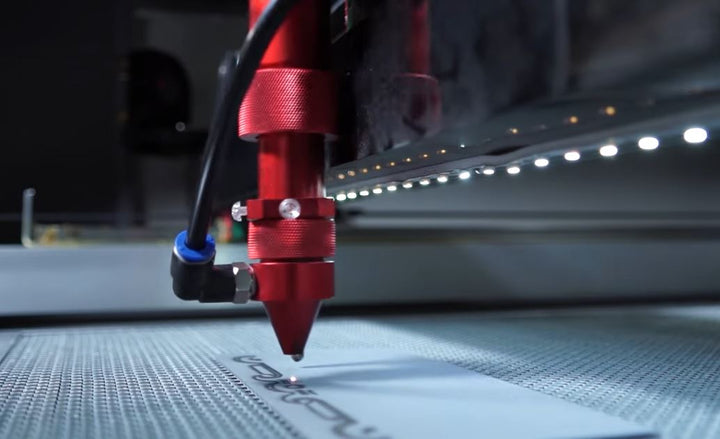
- Consistent Focus: Ensure the laser's focus is precisely adjusted. A properly focused laser is crucial for achieving detailed and sharp engraving results.
By methodically testing and adjusting, you’ll identify the perfect settings for engraving on acrylic with your specific machine. This tailored approach ensures that each project reflects the high quality and precision your work is known for, without being constrained by the variability of preset machine settings.

