How to Apply Acrylic Patches Using Different Types of Heat Presses?
Applying acrylic patches to hats requires a nuanced approach, especially considering their need for more heat compared to other materials. Below, we outline detailed instructions for both single and double heat plate presses, ensuring your acrylic patches bond securely and seamlessly to your garments.
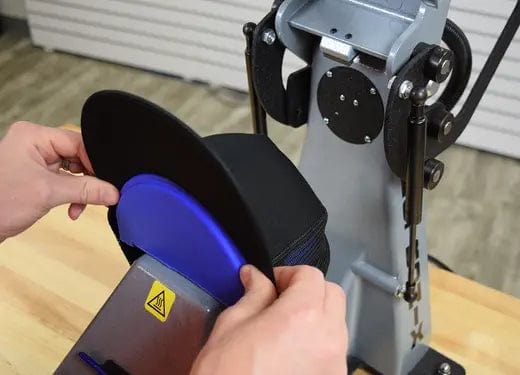
Single Heat Plate Press (e.g., Vevor):
- Initial Press: Begin by preheating the hat for 30 seconds at 30°F. This step is crucial to prepare the fabric, ensuring it's receptive to the acrylic patch.
- Applying the Patch: Position the acrylic patch on the preheated section and apply the press again for 45 seconds at 300°F. This targeted heat application activates the adhesive, ensuring a solid bond with the fabric.
Double Heat Plate Press (e.g., Hotronix 360 IQ, Chinese Model):
- Option 1: Adjust the top plate to 260°F-270°F°F and the bottom plate to 320°F-330°F. Press with medium pressure for 40 seconds. This method provides a consistent and efficient bond across the entire patch.
- Option 2 (Double Press Method): Initially, heat the patch area for 30 seconds to activate the adhesive slightly. Then, position the acrylic patch and apply a second round of heat for 35 seconds. This staggered heating process can further enhance the adhesive's effectiveness.
Important Considerations:
- It's imperative to ensure the acrylic patches are completely dry before application. Moisture can significantly impact the effectiveness of the heat transfer.
- If the patch does not adhere properly after the initial application, it may indicate a need for increased heat. Adjust the heat settings or pressing time accordingly, based on your observations.
By adhering to these guidelines, you are set to achieve a high-quality, durable application of acrylic patches on hats. The success of applying acrylic patches hinges on the precision of heat settings and application timing, specifically adjusted for the heat-resistant nature of acrylic. Should you face any challenges or have further inquiries about your heat press model, our dedicated customer support team is on standby to offer expert guidance and assistance.
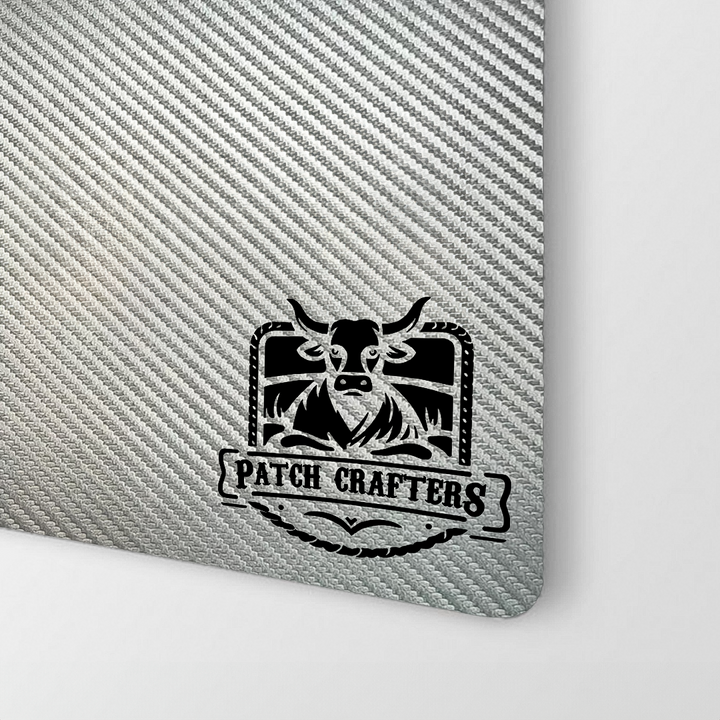
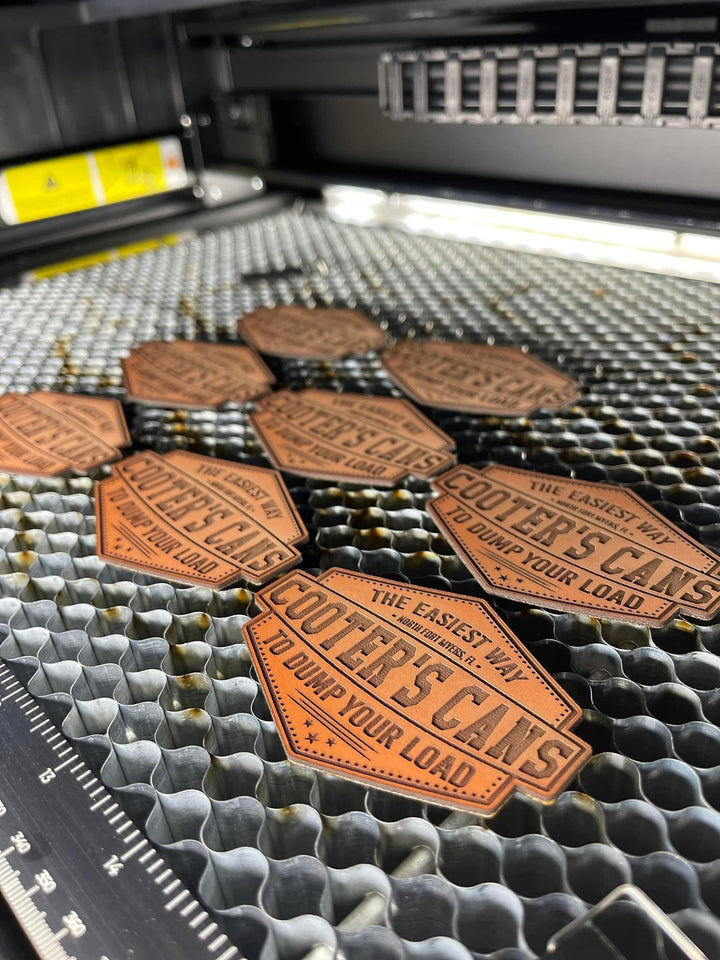
Achieving consistent quality in the engraving of leatherette materials, especially those with a metal backing, requires careful attention to detail in both preparation and the engraving process itself. Here are...
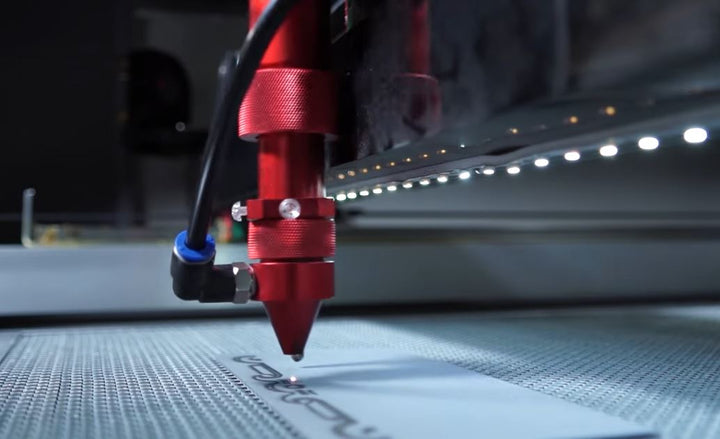
When engraving leatherette, the key is to start with your machine's recommended settings for synthetic materials and adjust from there. Begin with a moderate speed and a low to medium...

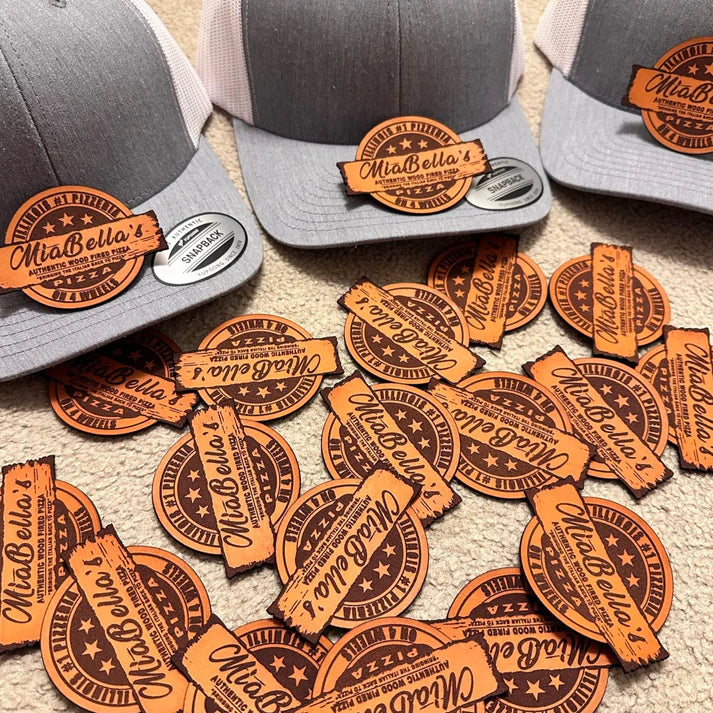
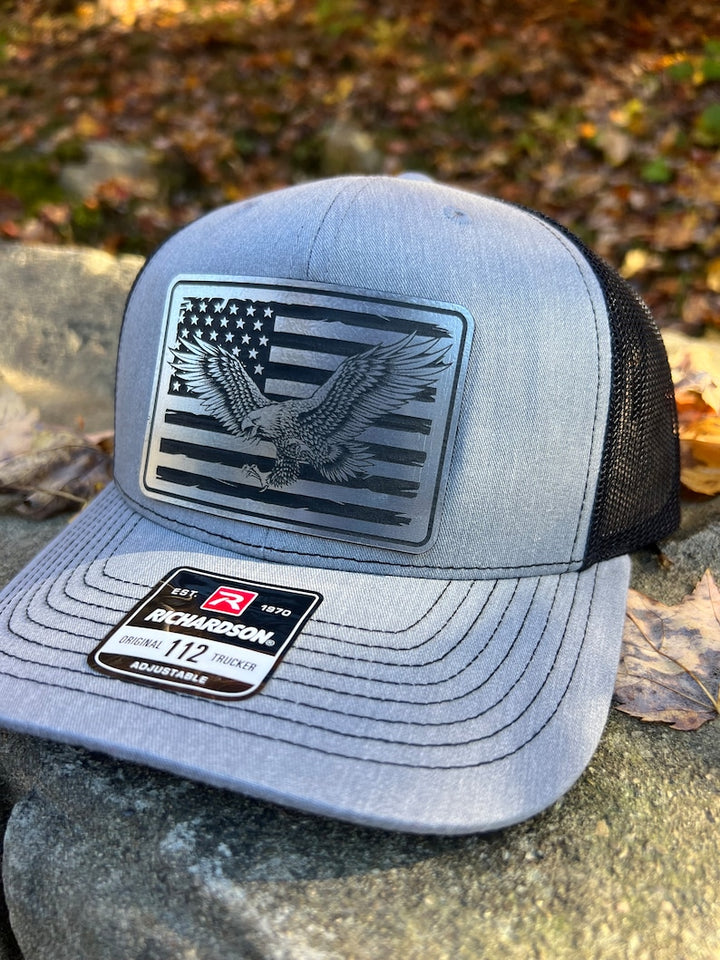
For optimal application of leatherette patches on hats, it's crucial to adjust your technique based on the type of heat press you're using. Below, we provide tailored instructions for both...
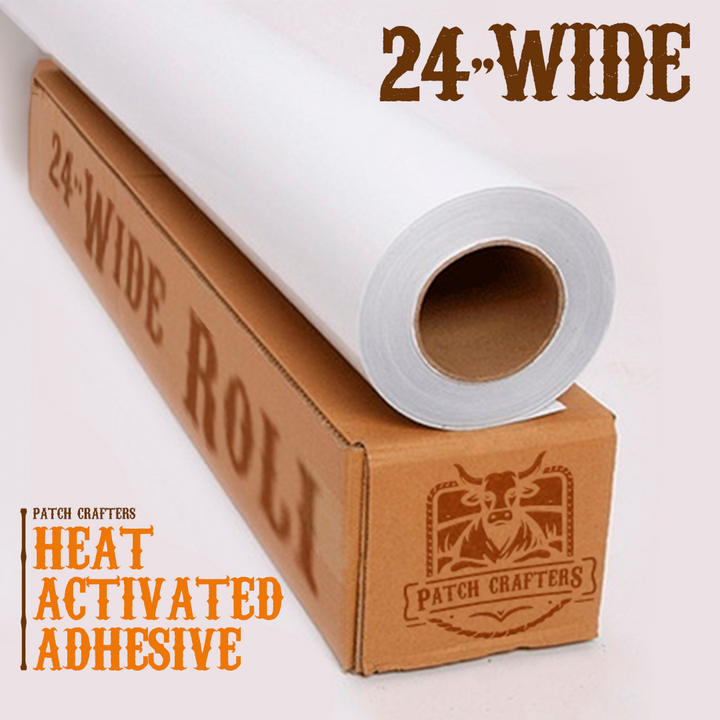
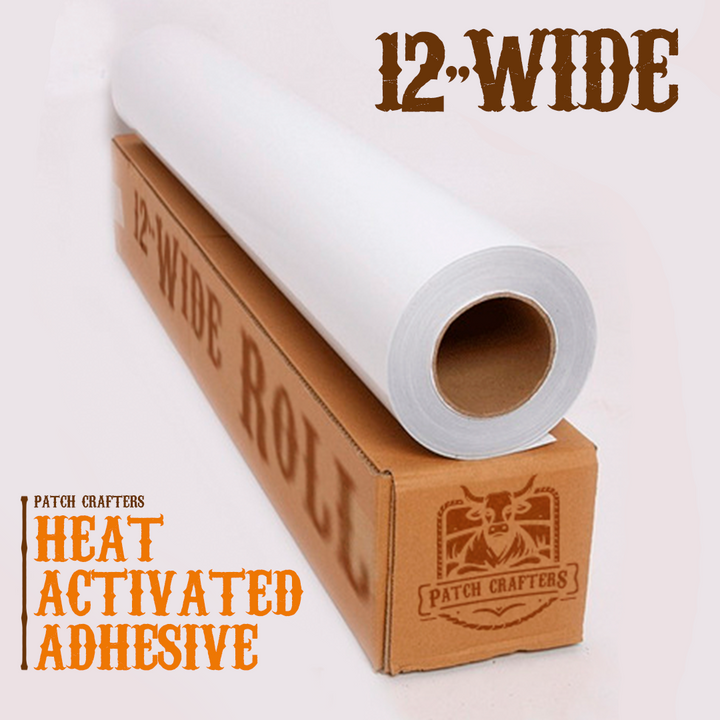
Introduction Welcome to your guide on maximizing the potential of PatchCrafters acrylic materials equipped with our premium heat-activated adhesive. This manual is designed to help you achieve flawless applications and...

Cutting white acrylic with a diode laser machine poses unique challenges due to the color's high reflectivity, which causes most of the laser light to be reflected away instead of...
Yes, it is absolutely normal to observe some wrinkling of the adhesive when it's applied behind acrylic patches. This phenomenon occurs due to the differences in material properties between the...
For optimal application of leatherette patches on hats, it's crucial to adjust your technique based on the type of heat press you're using. Below, we provide tailored instructions for both...

When working with acrylic, achieving that pristine, frosted appearance characteristic of laser engraving involves a careful balance of your machine’s settings. Begin with your engraver's recommended baseline settings for acrylic...