Patch Crafters Acrylic Panels User Manual
Introduction
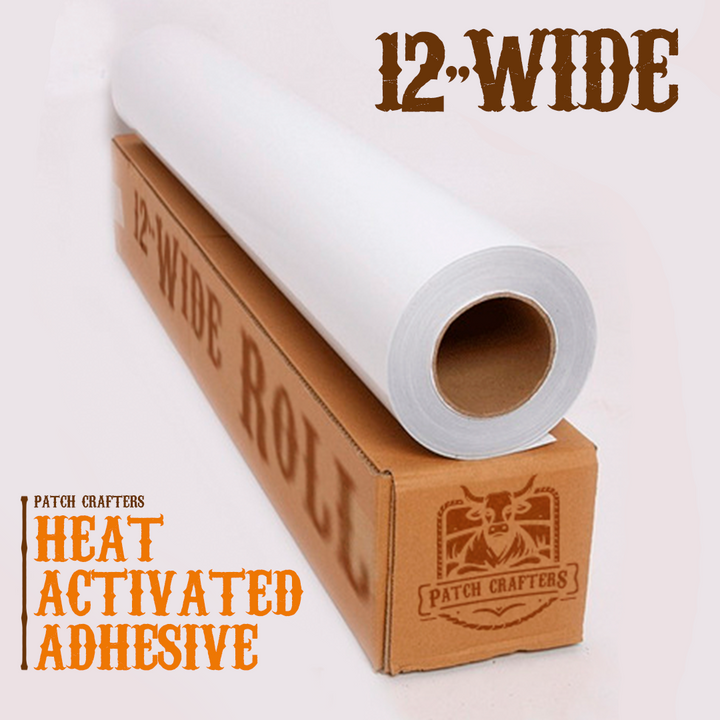
Welcome to your guide on maximizing the potential of PatchCrafters acrylic materials equipped with our premium heat-activated adhesive. This manual is designed to help you achieve flawless applications and stunning results for your projects.
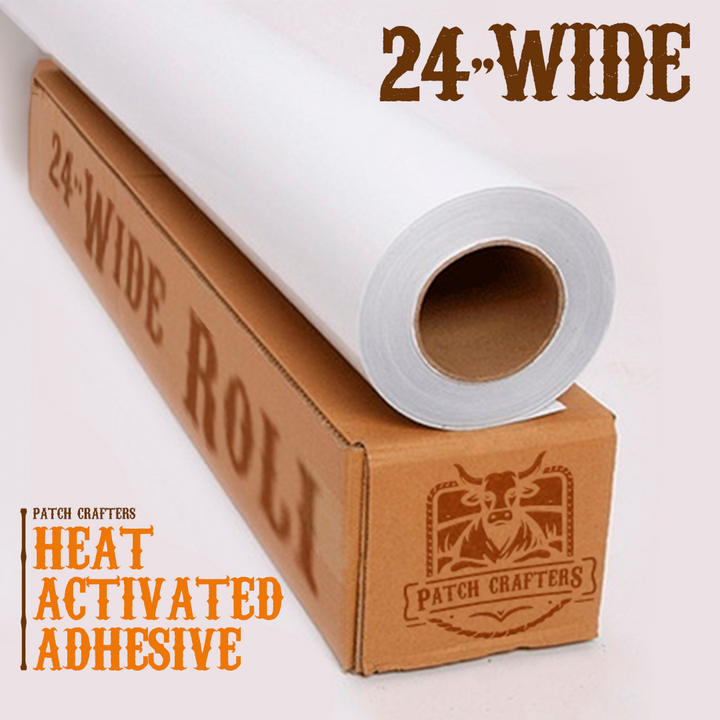
Handling Protective White Paper
The acrylic material comes with a protective white paper on top of the adhesive layer to safeguard it until application. Here’s how to manage this protective layer:
- After Engraving Preference: For optimal results, we recommend removing the protective white paper after engraving. This approach ensures the acrylic's surface remains pristine and undamaged during the engraving process.
- Pre-Removed Paper: If the protective paper has been removed before engraving, proceed with caution. The acrylic can still be engraved successfully, but extra care should be taken to avoid any direct impacts that might compromise its surface quality.
Engraving Guidelines
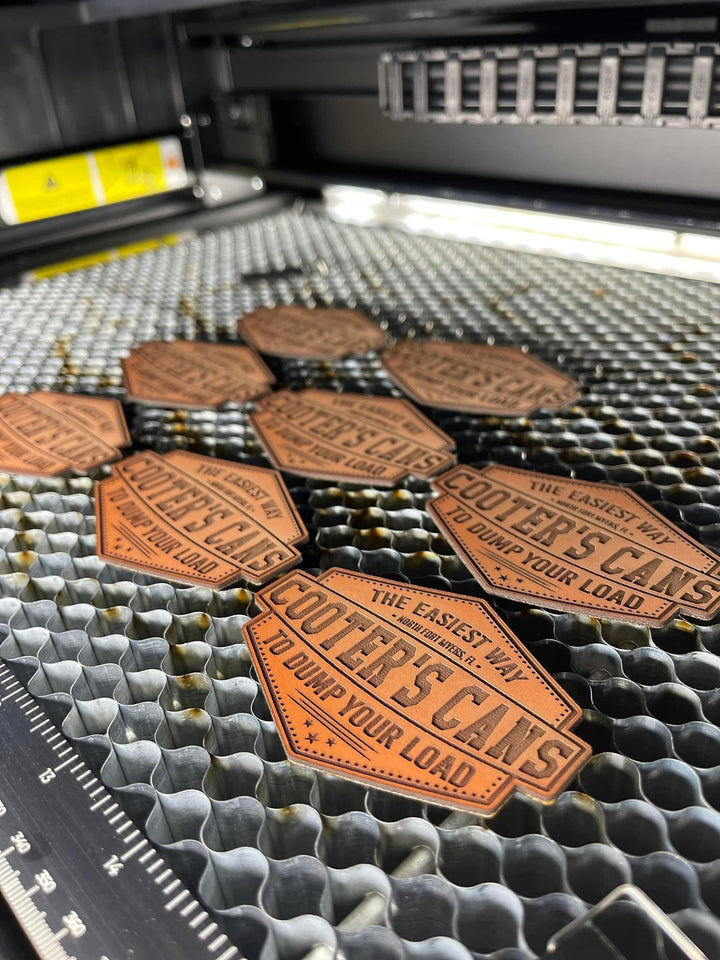
Achieving the best engraving results on your 1/16" acrylic involves a few key considerations:
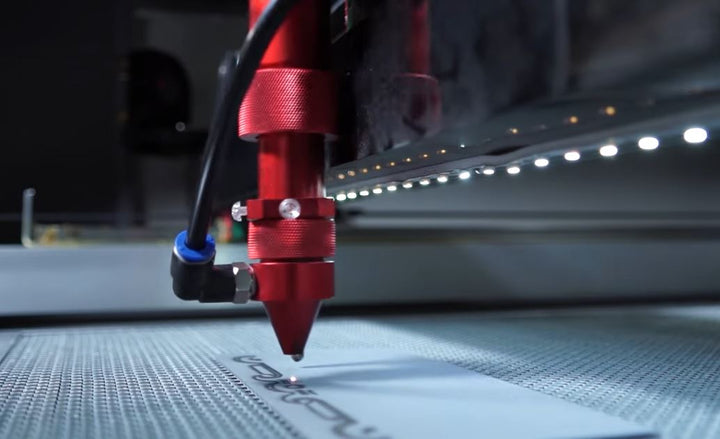
- Test and Adjust: Start with a high speed and moderate power setting on your laser engraver, conducting test engravings on scrap material to fine-tune.
- Focus on Quality: Ensure the laser is precisely focused on the acrylic's surface for sharp, detailed results.
- Incremental Approach: Adjust the engraving settings incrementally based on the outcomes of your tests, aiming for a smooth, matte finish.
Applying the Heat-Activated Adhesive
Our acrylic material's heat resistance is a significant advantage, ensuring durability and longevity. However, it also means adjusting your heat application approach:
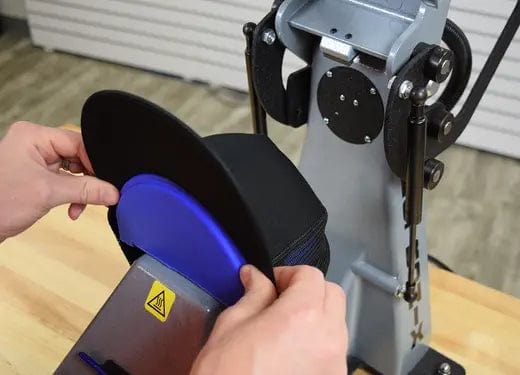
- Increased Heat Requirement: Apply more heat compared to other materials. The acrylic requires approximately 15 extra seconds of heat to activate the adhesive effectively, ensuring a secure bond.
- Even Distribution: Ensure the heat is evenly distributed across the entire surface of the acrylic to activate the adhesive uniformly.
- Final Application: After applying the necessary heat, allow the acrylic to cool down before handling it further. This cooling period ensures the adhesive sets properly, providing a strong, lasting bond.
Frequently Asked Questions
-
Is it normal to see wrinkles on the protective white paper?
- Yes, it's normal to observe wrinkles on the protective white paper. These do not affect the quality of the adhesive or the final application.
-
Can I still engrave the acrylic if the protective paper is removed?
- Yes, engraving can proceed without the protective paper, but take care to protect the acrylic's surface during the process.
-
How do I achieve consistent engraving on acrylic?
- Consistent results come from testing and adjusting your machine's settings, focusing on high speed and moderate power, and ensuring the laser is correctly focused for the acrylic's thickness.
-
How much extra heat does the acrylic need?
- The acrylic requires approximately 15 extra seconds of heat compared to other materials to activate the adhesive due to its heat resistance.
Conclusion
With PatchCrafters acrylic materials and heat-activated adhesive, your projects will stand out in quality and durability. By following this manual, you’re equipped to handle the intricacies of working with this versatile material, from engraving to application. For further assistance or questions, our customer support team is always ready to help.

