

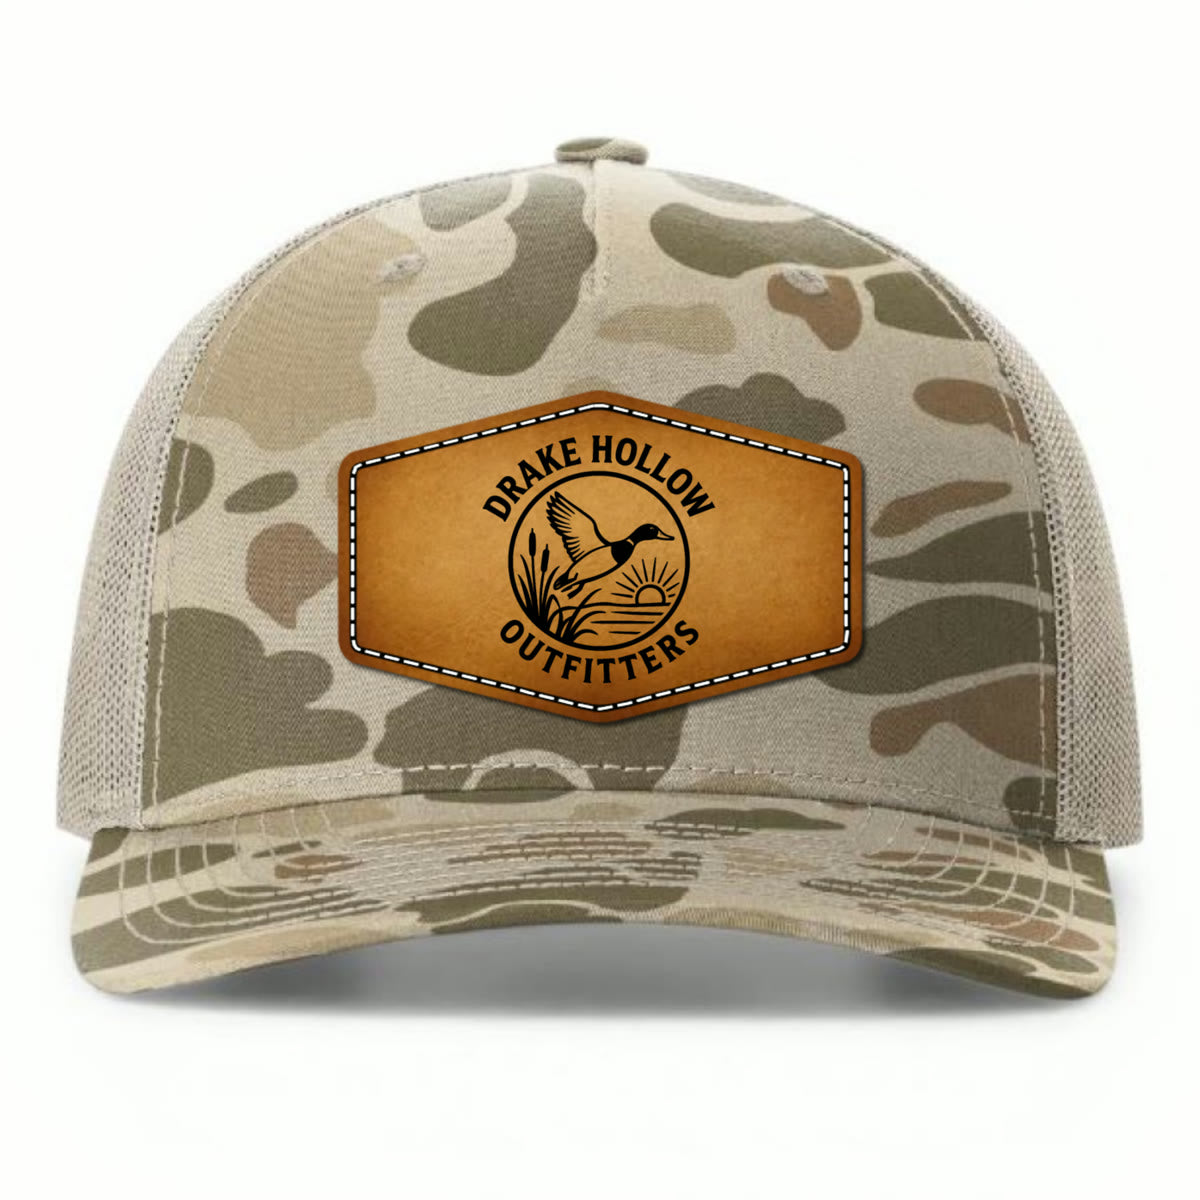
Quick answer: on a dual-heat cap press like DuoForge, press leather, leatherette and PVC patches at 300°F (149°C) on top and 320°F (160°C) on the bottom. Pre-heat the cap for 25 seconds, then press the patch for 25 seconds. On a cap press with heat only on top, pre-heat the cap for 30 seconds at 300°F, then press a leatherette patch for 25 seconds at 300°F. Full-grain leather and acrylic patches need more time. The chart below has the settings for each material and type of press.
Hat patch heat press chart
Settings for patches with Patch Crafters heat-activated adhesive on structured caps.
| Patch | Press | Top platen | Bottom platen | Pre-heat the cap | Press with the patch | Pressure |
|---|---|---|---|---|---|---|
| Leather, leatherette, PVC | DuoForge (dual heat) | 300°F / 149°C | 320°F / 160°C | 25 s | 25 s | — |
| Leatherette | Top-heat-only cap press | 300°F / 149°C | — | 30 s | 25 s | — |
| Leatherette | Other dual-heat cap press | 270–290°F / 132–143°C | 380–400°F / 193–204°C | — | 45 s | Medium |
| Full-grain leather | Top-heat-only cap press | 300°F / 149°C | — | 45 s | 45 s, plus 10–15 s if needed | — |
| Full-grain leather | Other dual-heat cap press | 270–290°F / 132–143°C | 300–320°F / 149–160°C | — | 45 s | Medium |
| Acrylic | Top-heat-only cap press | 300°F / 149°C | — | 30 s | 45 s | — |
| Acrylic | Other dual-heat cap press | 260–270°F / 127–132°C | 320–330°F / 160–166°C | — | 40 s | Medium |
| Leatherette | Heat Dualizer add-on | 260°F / 127°C | 280°F / 138°C | 30 s | 30 s | Moderate |
- Two-step option on other dual-heat presses: pre-heat the cap for 30 seconds, then press the patch for 20–25 seconds (leatherette and full-grain leather) or 35 seconds (acrylic).
- Acrylic on DuoForge: we haven't published DuoForge settings for acrylic patches yet. We're testing them and will add them to this chart.
- Every setting is a starting point. Test on a sample cap first, since adhesives, caps and presses vary.
Why thick patches need heat from below
Heat-transfer vinyl is thin, so heat from the top plate reaches the adhesive almost right away. Leather, leatherette, PVC and acrylic patches are thick, and they insulate. The adhesive sits on the back of the patch, against the cap. With heat from the top only, the heat has to travel through the whole patch before the glue melts, so you end up pressing hotter or longer, which can scorch, shine or warp the patch face.
A heated lower platen works from the other side. The cap fabric is thin, so heat from below reaches the glue quickly while the top plate stays gentler on the patch face. That's why dual-heat settings run the bottom platen hotter than the top.
Step by step: a leather patch on a Richardson 112
- Set the temperatures. On DuoForge, 300°F top and 320°F bottom. Wait until both platens reach temperature.
- Load the cap. Pull the crown over the lower platen so the front panels sit smooth and centered. On DuoForge, slide the base front or back so the top plate clears the brim.
- Pre-heat the cap for 25 seconds without the patch. This drives out moisture and warms the fabric the glue will bond to.
- Position the patch on the warm front panel. A laser alignment tool or heat-resistant tape helps with exact placement.
- Press for 25 seconds. An automatic press opens on its own when the timer ends.
- Let it cool for a few seconds, then check the edges. If an edge lifts, press it again for 5–10 seconds.
On a top-heat-only press, follow the same steps with the times from the chart. For leatherette, that's 30 seconds of pre-heat at 300°F, then 25 seconds with the patch.
What you need
- A cap heat press. Any cap press works for thin transfers. For thick patches, a press with heat on both sides, such as DuoForge, gets heat to the glue from below.
- Structured caps. Trucker caps like the Richardson 112, 115 and 168 are the most common choice for leather patches.
- Patches with heat-activated adhesive. Engrave your own from leatherette sheets, start from blank full-grain leather patches, or add our adhesive roll to patches that don't have adhesive.
- Optional: a PressGuard silicone protector for the patch face, heat-resistant gloves, and a laser alignment tool for repeat orders.
Troubleshooting
| Problem | Usual cause | Fix |
|---|---|---|
| A line or shiny mark on the side panels | The heated plate is narrower than the cap front, so its edge presses into the panels | Use a top platen that spans the full front width, or lower the top temperature |
| Creases across the front | A flat or rigid lower form lets the structured front fold over its edge | Use a rounded, cushioned support that fills the crown |
| Patch edges lift after a few days | The glue under the edges never fully melted, or the pressure was uneven on the curve | Add heat from below, make sure the plate curve matches the crown, and press again |
| Scorched or shiny patch face | The top plate is too hot because it's doing all the work | Lower the top temperature and move the heat to the bottom platen |
| Patch shifts while pressing | The patch slid when the plate closed | Use heat-resistant tape or a laser alignment guide |
Does the press matter?
For thin transfers, almost any cap press works. For thick patches, three things decide the result: whether the heated plate covers the full front of the cap, whether its curve matches a structured trucker crown, and whether there's heat under the cap.


Dedicated dual-heat cap presses with those features typically cost $770–$2,050 (November 2026). DuoForge brings automatic open and close, independently controlled top and bottom heat, and curves built for trucker caps to $349.
FAQ
What temperature should I use for leather patches on hats?
On DuoForge, 300°F top and 320°F bottom, with a 25-second cap pre-heat and a 25-second press. On a top-heat-only press, 300°F: pre-heat the cap for 45 seconds, then press a full-grain leather patch for 45 seconds, adding 10–15 seconds if needed.
Can I use the same settings for leatherette and PVC patches?
On DuoForge, yes: 300°F top and 320°F bottom work for leather, leatherette and PVC patches. On other presses, use the row for each material in the chart.
How long should I pre-heat the cap?
25 seconds on DuoForge. On a top-heat-only press, 30 seconds for leatherette and acrylic patches and 45 seconds for full-grain leather. Pre-heating drives out moisture and warms the fabric so the glue bonds.
Do I need a heat press with a heated bottom platen?
It isn't required, but it makes thick patches easier to press: the glue gets heat from behind, so you don't have to overheat the patch face.
What pressure should I use?
On presses with a pressure setting, use medium pressure: firm enough that the whole patch face sits flat against the top platen, but not so tight that the front of the cap creases.
Do acrylic patches need different settings?
Yes, acrylic needs more time. On a top-heat-only press, pre-heat the cap for 30 seconds at 300°F, then press the patch for 45 seconds. On other dual-heat presses, use 260–270°F on top and 320–330°F on the bottom for 40 seconds.
Which hats work best?
Structured trucker caps like the Richardson 112, 115 and 168 give the cleanest results, but most cap styles can be pressed.
Can I use a household iron?
We haven't published tested iron settings for caps yet. A cap press applies even heat across the curved front of a cap, which is hard to do with an iron.
How we got these settings
These are the settings our production team recommends for Patch Crafters materials. The DuoForge recipe was confirmed by our team in November 2026. Questions about your press? Text us at (405) 937-1596.
Last updated: November 2026.