

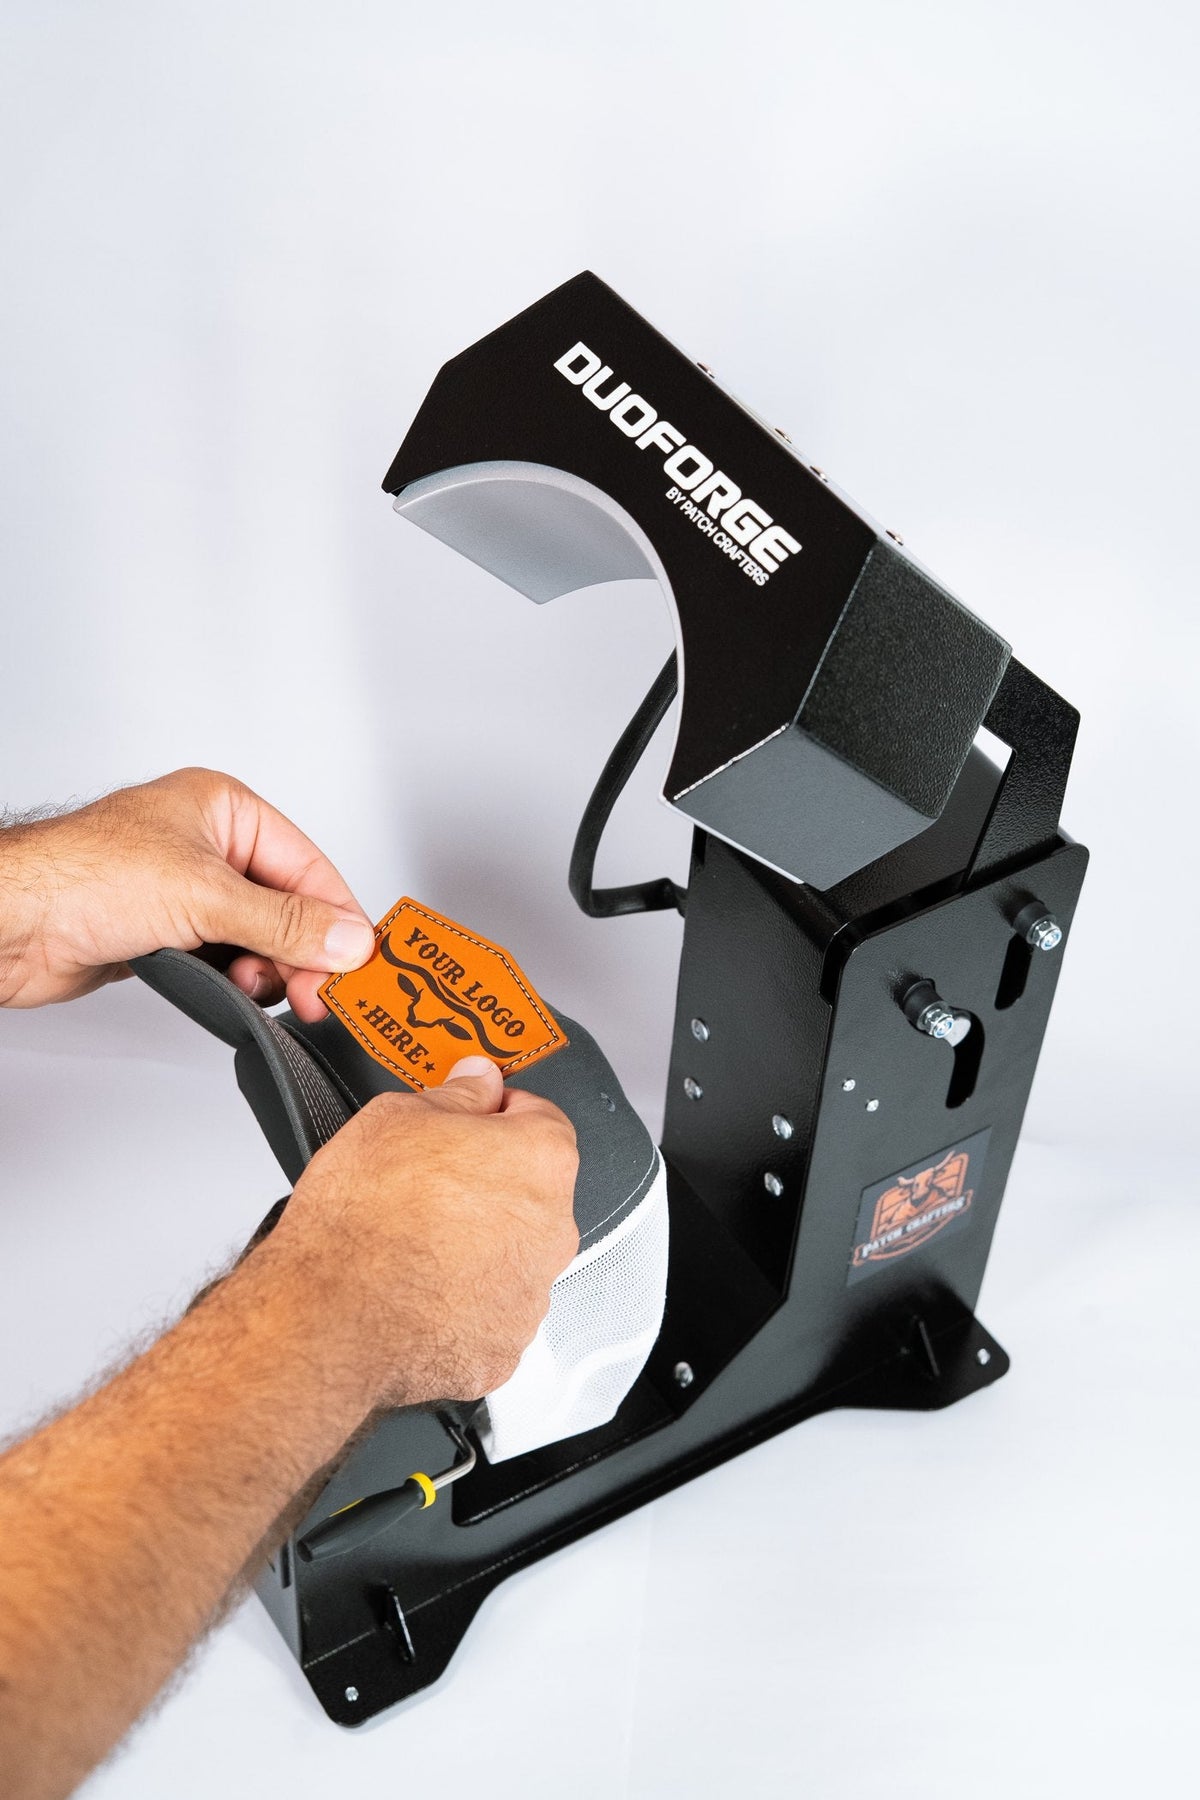
Quick answer: most hat patches peel at the edges because the adhesive under the edges never fully melted. Pre-heat the cap to drive out moisture, make sure the heated plate covers the whole patch and follows the curve of the crown, and add heat from below on thick patches. If an edge lifts, press it again for 5–10 seconds. And on our patches, never peel the film off the back: that film is the adhesive.
Problems, causes and fixes
| Problem | Usual cause | How to fix or prevent it |
|---|---|---|
| Edges lift after a few days | The glue under the edges never fully melted, or the pressure was uneven on the curve | Press again for 5–10 s; add heat from below; use a plate that covers the patch and matches the crown |
| The whole patch comes off | The adhesive film was peeled off, the patch had no adhesive, or the cap wasn't pre-heated | Check the back of the patch; pre-heat the cap; press for a full cycle at the right settings |
| A crease across the front | A flat or rigid lower form lets the structured front fold over its edge | Use a rounded, cushioned support that fills the crown; pull the cap smooth before closing the press |
| A line or shiny mark on the side panels | The heated plate is narrower than the cap front, so its edge presses into the panels | Use a top platen that spans the full front width, or lower the top temperature |
| Scorched or shiny patch face | The top plate is too hot because it's doing all the work | Lower the top temperature, move heat to the bottom platen, and use a patch protector |
| The patch shifts while pressing | It slid when the plate closed | Use heat-resistant tape or a laser alignment tool |
| Wrinkled adhesive behind acrylic patches | See our guide on wrinkles behind acrylic panels | Follow the acrylic settings in the heat press chart |
The four things that make a patch stick
1. Adhesive that's actually there
Our blanks and custom patches have heat-activated adhesive applied in our shop, with no liner. The film on the back is the adhesive. Peel it off and there's nothing left to bond. Patches from other sources may have a liner, or no adhesive at all; you can add our adhesive roll to those.
2. A dry, warm cap
Caps hold moisture. Pre-heating the cap without the patch drives it out and warms the fabric the glue will bond to: 25 seconds on DuoForge, 30 seconds for leatherette on a top-heat-only press, 45 seconds for full-grain leather.
3. Heat that reaches the glue
Leather, leatherette, PVC and acrylic patches are thick, and they insulate. With heat only on top, the glue under the edges is the last thing to melt. A heated lower platen heats it through the thin cap fabric. More on this in single vs dual heat hat presses.
4. Even contact from edge to edge
The plate has to cover the whole patch, follow the curve of a structured crown and press firmly. If it only touches the middle, the edges get less heat and less pressure, and those are the spots that lift.

How to re-press a patch that lifted
- Heat the press to your normal settings for that patch (see the heat press chart).
- Load the cap with the front smooth and centered.
- Press for 5–10 seconds. If most of the patch has lifted, press a full cycle.
- Let it cool, then check the edges.
How to check the bond before a hat ships
Let the cap cool completely, then run a fingernail gently along the edges of the patch. A well-bonded patch has no gap anywhere. If a corner lifts, re-press now rather than after the customer finds it. Pressing one test cap at the start of every batch catches most problems before they multiply.
FAQ
Why is my leather patch peeling off my hat?
Almost always because the glue under the edges didn't fully melt: no pre-heat, not enough heat reaching the back of the patch, or a plate that doesn't cover and fit the cap front. Press it again for 5–10 seconds with heat from below if you have it.
How do I stop my hat press from creasing the cap?
Use a rounded, cushioned lower support that fills the crown, pull the cap smooth over it, and don't over-tighten the pressure.
Why does my heat press leave a line on the side of the hat?
The heated plate is narrower than the cap front, so its edge presses into the side panels. A wider top platen fixes it; lowering the top temperature makes the mark lighter.
Can I wash a hat with a pressed patch?
We haven't published washing tests. Spot cleaning is the gentlest choice for any hat with a pressed patch.