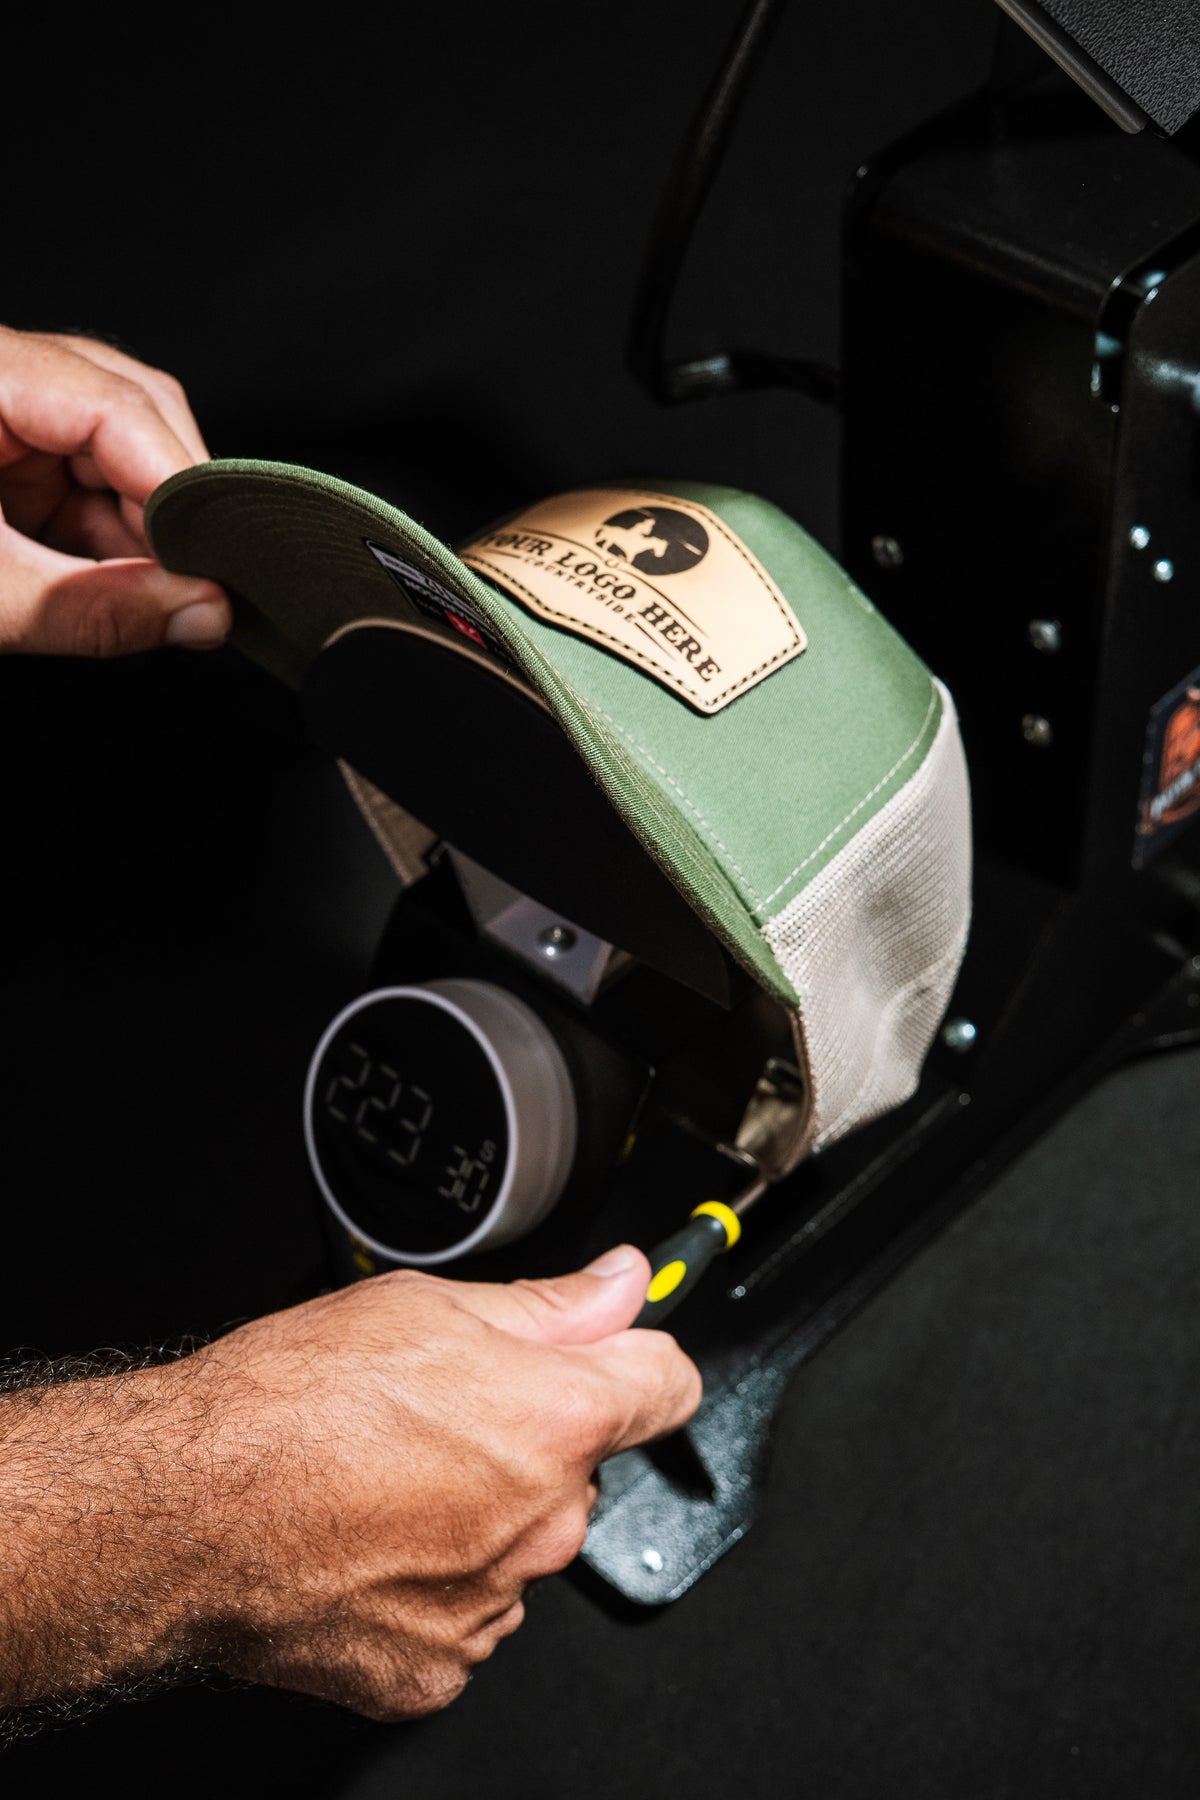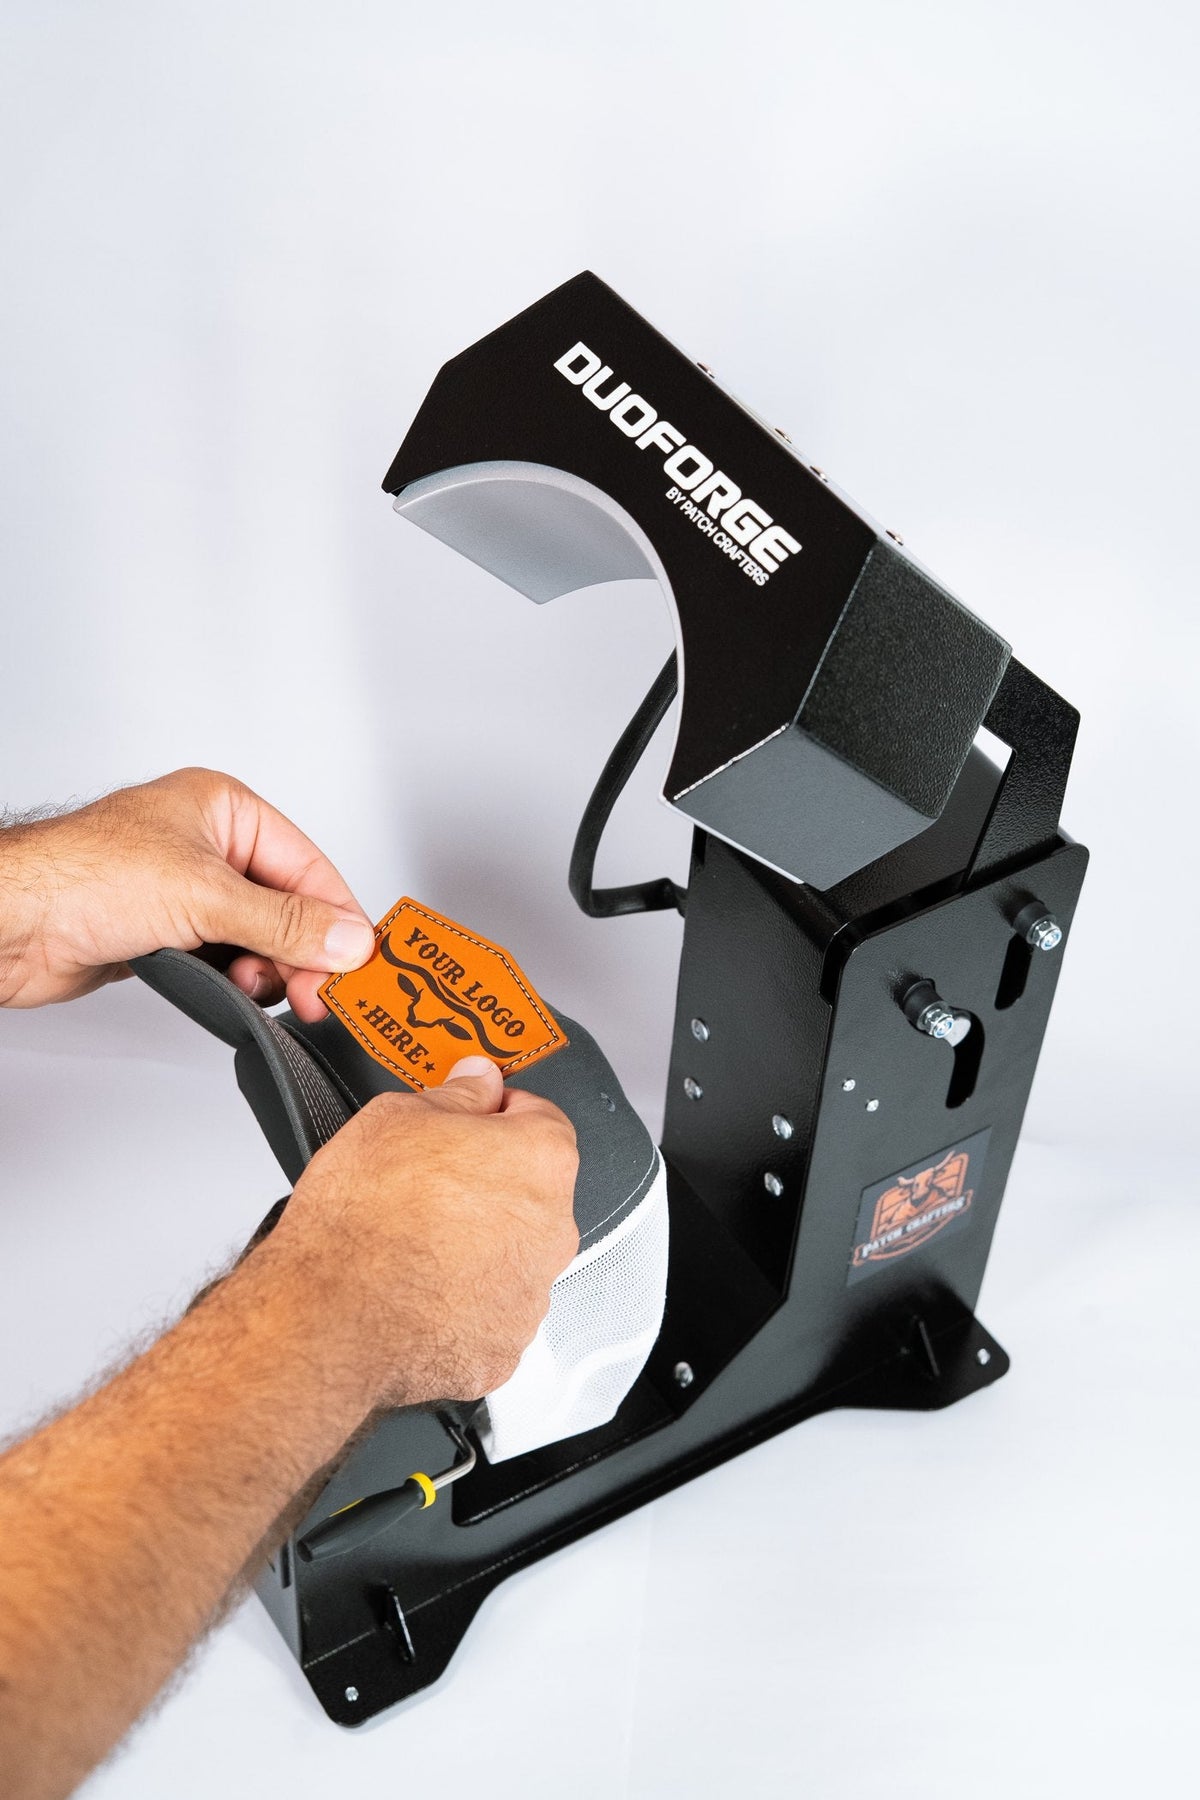

How to Remove a Patch From a Hat (and Fix a Crooked One)
How to take off a heat-pressed or sewn patch without ruining the cap, fix a crooked patch and put a new one in the same spot.
Quick answer
Heat-activated adhesive softens when you heat it again. Put the cap back on your heat press at the temperature you used to apply the patch, heat it for about one press cycle, then lift a corner while the patch is still hot and peel it off slowly, wearing heat-resistant gloves. If it resists, heat it again instead of pulling harder. A sewn patch comes off with a seam ripper. In most cases the cap can be reused: press a new patch the same size or larger over the same spot.
 Heat-Resistant Lint-Free Gloves for heat pressing (1 pair)$8.00
 Laser Alignment Tool for DuoForge Hat Press$39.00
 Patch Crafters Adhesive Roll (12" Wide) - By the Yard$14.00
On this page
What you need
- The cap heat press you used to apply the patch
- Heat-resistant gloves
- Tweezers or a thin, blunt spatula to lift the first corner
- A seam ripper, for sewn patches
How to remove a heat-pressed patch
- Heat the press to the temperature you used to apply the patch. Our settings for each material and press are in the hat patch heat press chart.
- Load the cap the same way you did when you pressed it, with the front smooth over the lower platen.
- Heat it for about one press cycle. On DuoForge that's around 25 seconds. Heat from inside the cap reaches the adhesive faster than heat through the patch.
- Lift a corner right away, while everything is hot. Use tweezers or a spatula, not your fingernail.
- Peel slowly and low, folding the patch back over itself instead of pulling it straight up, so you don't stretch the fabric.
- If it sticks, stop and reheat. The adhesive grips again as it cools, so work in short heat-and-peel rounds.
How to remove a sewn patch
Turn the cap so you can see the stitches, slide a seam ripper under one stitch at a time and cut, then pull the loose thread out from the back. Go slowly at the corners, where the stitches are tightest. A new patch of the same size or larger covers the needle holes.
What about patches stuck on with glue?
Craft glue and instant glue soak into the fabric and harden, so there's no clean way to remove them without risking the cap. If you try, test anything you use on the inside of the cap first. For new hats, heat-activated adhesive is easier to fix later.
Putting a new patch on the same spot
Some adhesive usually stays on the cap after you peel the old patch. Pressing a new patch of the same size or larger over it normally works, because the leftover adhesive melts again under the new patch. Pre-heat the cap as usual, press the new patch and check the edges when it cools. If you can see an outline of the old patch around a smaller new one, use a bigger shape.
Fixing a crooked patch
Noticed it right after pressing? Reheat the cap for a short cycle, lift the patch while it's hot, reposition it and press again for a full cycle. To keep it from happening again, line up every patch with a laser alignment tool or a small piece of heat-resistant tape, and center it on the front seam or center panel.
Can you reuse the patch?
Usually it's not worth it. Part of its adhesive stays on the cap, so it won't bond as well the second time. If you want to save a special patch, add fresh adhesive to the back with an adhesive roll before pressing it again.
FAQ
Can you remove a patch from a hat without damaging it?
Most of the time, yes, if the patch was heat-pressed and you peel it while the adhesive is hot. You may see a faint outline where the patch was, which a new patch the same size or larger will cover.
Can I use a hair dryer or an iron?
Household tools rarely heat the adhesive evenly across a curved cap front. A cap press is the safest way, because it heats the whole patch at once.
Why did my patch come off on its own?
Usually the adhesive under the edges never fully melted. See why hat patches peel off for the causes and fixes.