
How to Stop Creases When Heat Pressing Hats (Richardson 112 and More)
Most creases come from how the cap sits on the press. Load it right, and fix the creases you already have.
Quick answer
Most creases come from how the cap sits on the press, not from the patch. Take out any paper or cardboard insert, leave the sweatband where it is, and pull the cap snug over a rounded lower platen that lines up with the sweatband. Make sure the top platen covers the whole front without landing on the brim. If a cap already has a crease, warm that spot with a heat gun and smooth it out while it's still hot. The crease stays out once the cap cools.
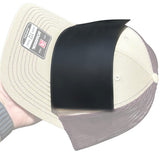
 Platen Cover #2 only fit DuoForgePRO Suitable for (Structured 6 Panel Hats, 112 Richardson, Baseball)$29.90
 Platen Cover #3 only fit DuoForgePRO Suitable for (5 Panel Hats)$29.90
 PressGuard heat press patch protector by PatchCrafters$8.00
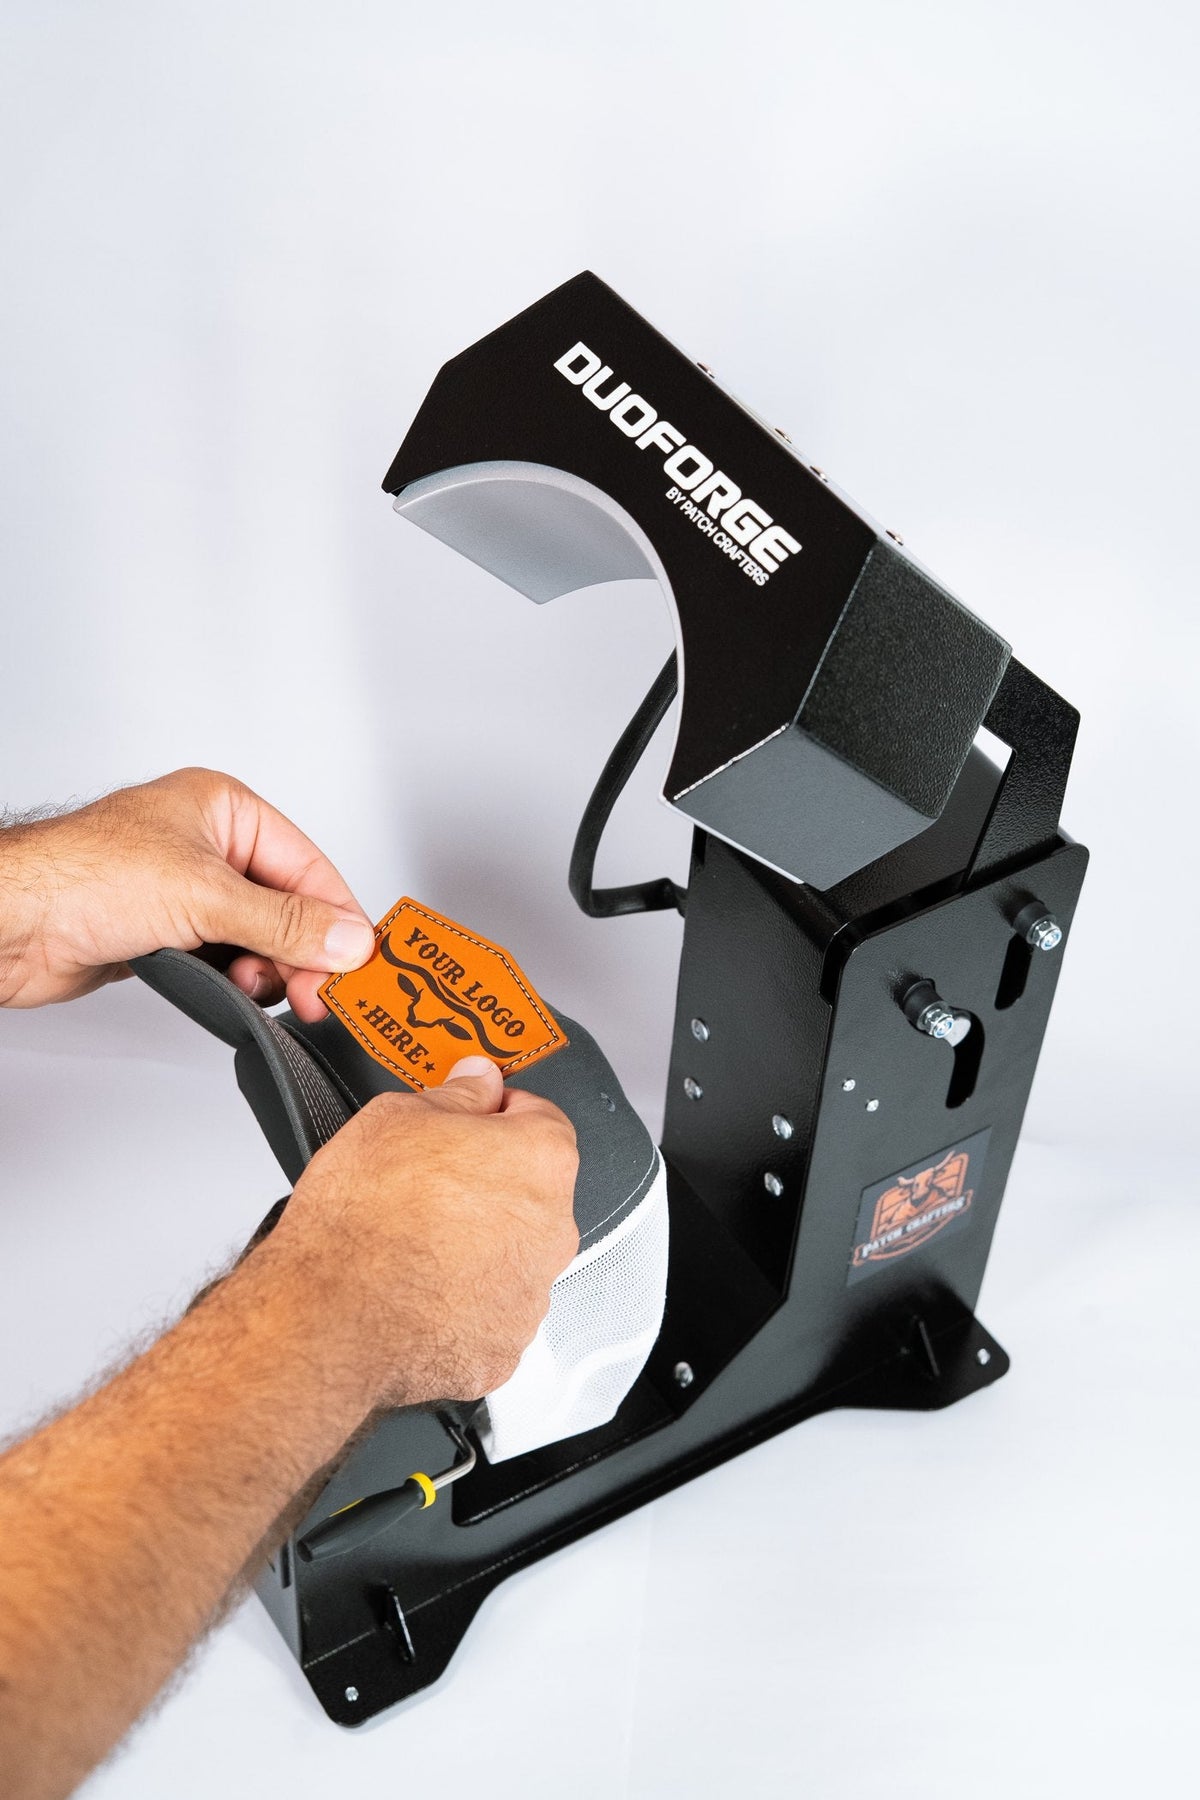
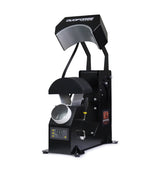 DuoForge Automatic Dual-Heat platen Cap Heat Press$349.00
On this page
Where the crease is tells you why
| Where you see it | Usual cause | Fix |
|---|---|---|
| A fold across the front panel | The cap isn't stretched over its support, a paper insert is still inside, or the lower form is flat and rigid | Remove the insert, pull the cap snug and use a rounded, cushioned lower platen |
| Lines on the side panels | The top plate is narrower than the cap front, so its edges press into the sides | Use a top platen that spans the full front, or lower the top temperature |
| A dent along the center seam (6-panel caps) | The seam lifts the front off the support | Center the seam on the lower platen; on the DuoForge PRO, use platen cover #2 |
| A mark near the brim or the sweatband | The top platen lands on the brim, or the sweatband is bunched or flipped | Line the lower platen up with the sweatband and keep the top platen off the brim |
| Puckers on 5-panel caps | A support shaped for 6-panel crowns | On the DuoForge PRO, use platen cover #3 |
| A shiny or textured patch face | The top plate is doing all the work | Lower the top heat, add heat from below and use a patch protector |

How to load a Richardson 112 without creases
- Take out any paper or cardboard from inside the cap. Our team checks for this when a customer sends a photo of a crease.
- Leave the sweatband where it is. Don't flip it out.
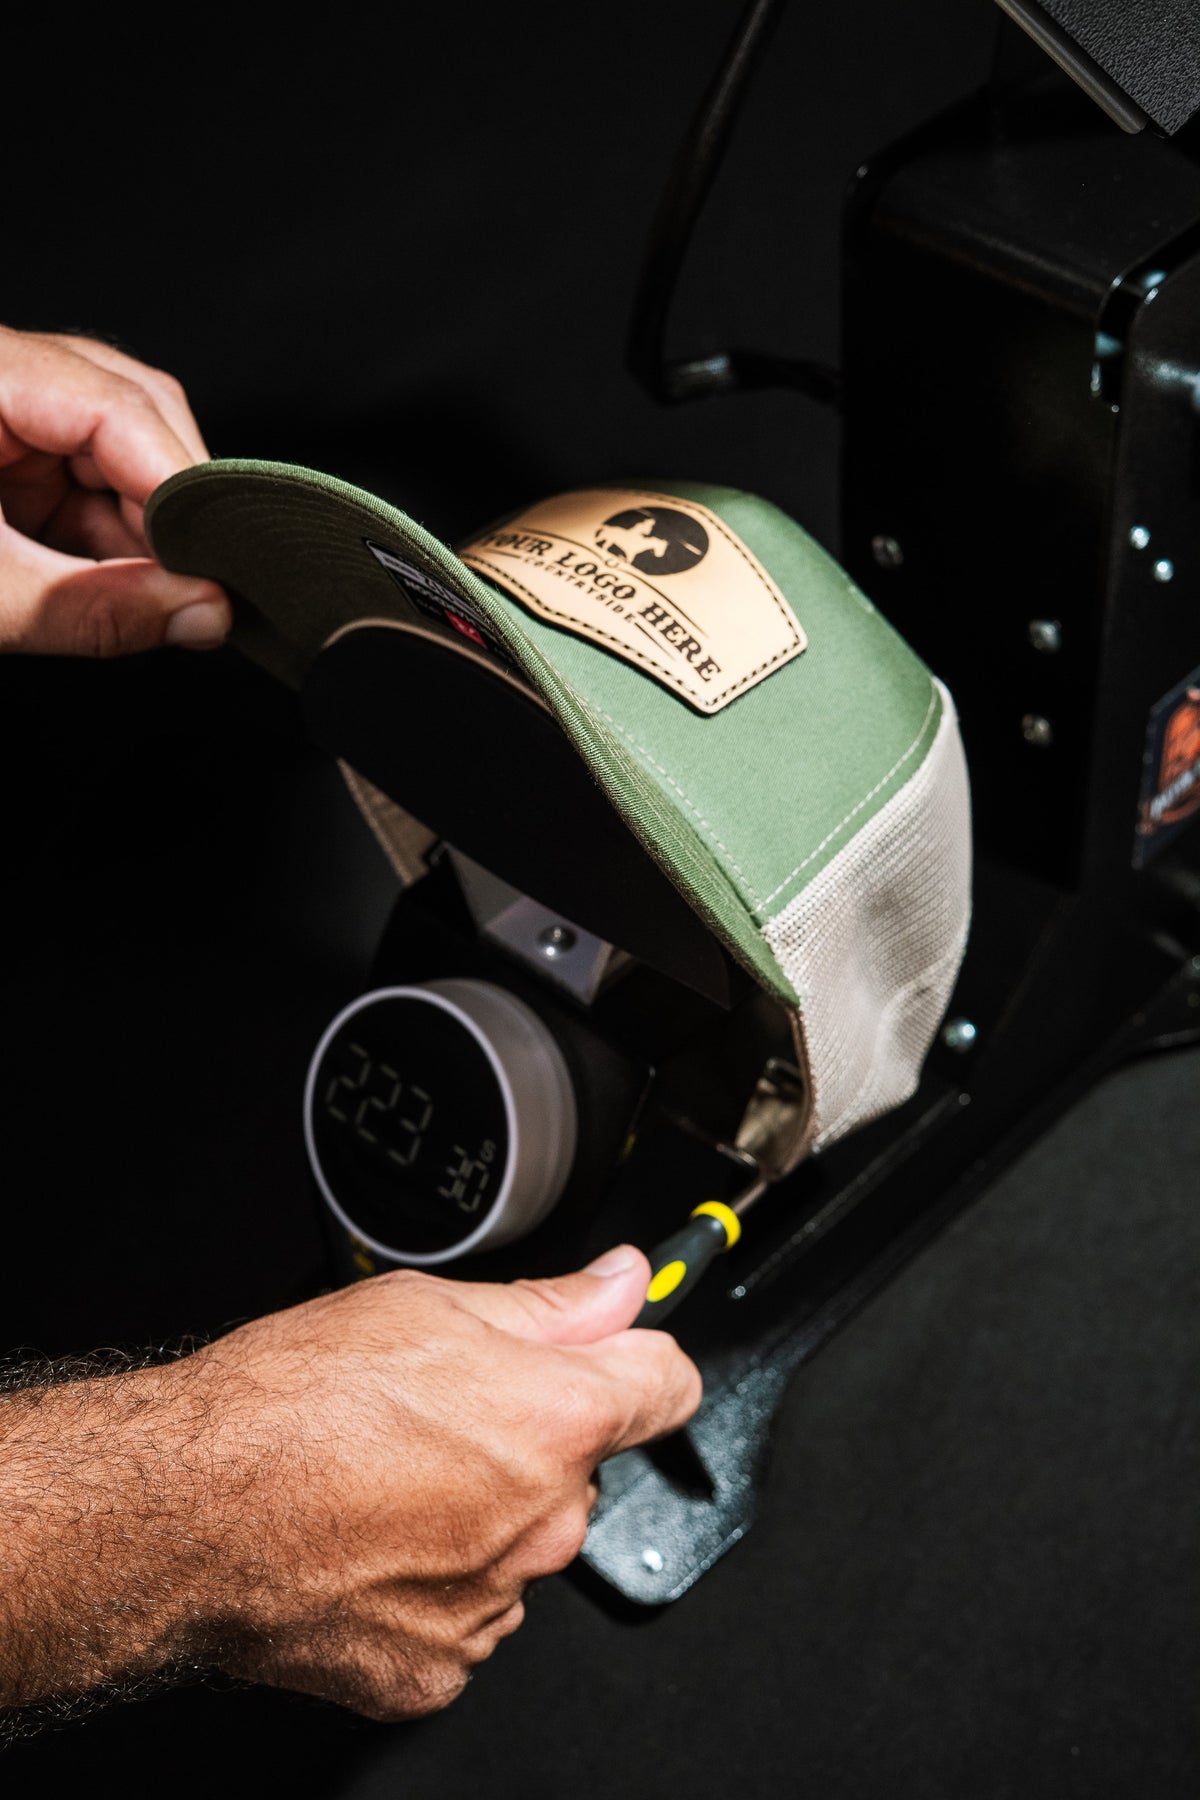
- Pull the cap over the lower platen until the front is snug and smooth. Stretch it a little if it's loose.
- Line the lower platen up with the sweatband and center the front seam on it.
- Check the top platen: it should land on the front panel, not on the brim.
- Pre-heat, then press. Pre-heat the cap, place the patch, cover it with a patch protector and press. On a DuoForge: 300°F top, 320°F bottom, 25 seconds of pre-heat and 25 seconds with the patch. Other presses and materials are in the heat press settings chart.
Side lines come from a narrow top plate
On many cap presses, the top plate stops short of the side panels. Its edges press into the cap and leave a line on each side. The DuoForge top platen has 35% more heated area and spans the full front, so its edges land past the side seams.

How to fix a crease that's already there
Warm the creased spot with a heat gun and smooth the fabric back into shape while it's hot. As the cap cools, it holds the new shape. Keep the heat gun moving and point it at the crease, not at the patch.
Pressure and creases
On the DuoForge, pressure is automatic. Its round, soft silicone base supports the crown from inside and slides front to back, so the plate doesn't catch the brim. On the DuoForge PRO, pressure is adjustable. If creases started right after you changed it, go back to the setting that worked. If the edges aren't bonding, the usual causes are too little heat or too little pressure. For more on lifting edges, see Why Hat Patches Peel Off.
Not sure which press fits your caps? Compare them in DuoForge vs DuoForge PRO.
FAQ
Why does my heat press crease my Richardson 112?
Usually because of how the cap sits: a paper insert still inside, a cap that isn't pulled snug, a flat or rigid lower form, or a top plate that lands on the brim. Load the cap snug over a rounded lower platen lined up with the sweatband.
Should I flip the sweatband out before pressing?
Our team's advice is no. Leave the sweatband in place and stretch the cap a little more over the lower platen.
How do I get a crease out of a hat?
Warm the crease with a heat gun and smooth it while the fabric is hot. Once it cools, the crease is gone. Keep the heat off the patch.
Why does my press leave lines on the sides of the cap?
The heated plate is narrower than the cap front, so its edges press into the side panels. A top platen that spans the full front fixes it; lowering the top temperature makes the line lighter.
Does a patch protector stop creases?
It protects the patch face from scorching and from picking up texture. Creases in the cap come from how it sits on the press, so you need both: a well-loaded cap and a protector on the patch.
Which platen cover should I use for a 5-panel cap?
On the DuoForge PRO, platen cover #3. It's shaped for the flatter, angular front of 5-panel caps. Cover #2 is for structured 6-panel caps like the Richardson 112.