
DuoForge PRO Platen Covers and Patch Protectors: Which One to Use
What each of the three platen covers and four patch protectors in the DuoForge PRO box is for, and how to pick the right one for your caps and patches.
Quick answer
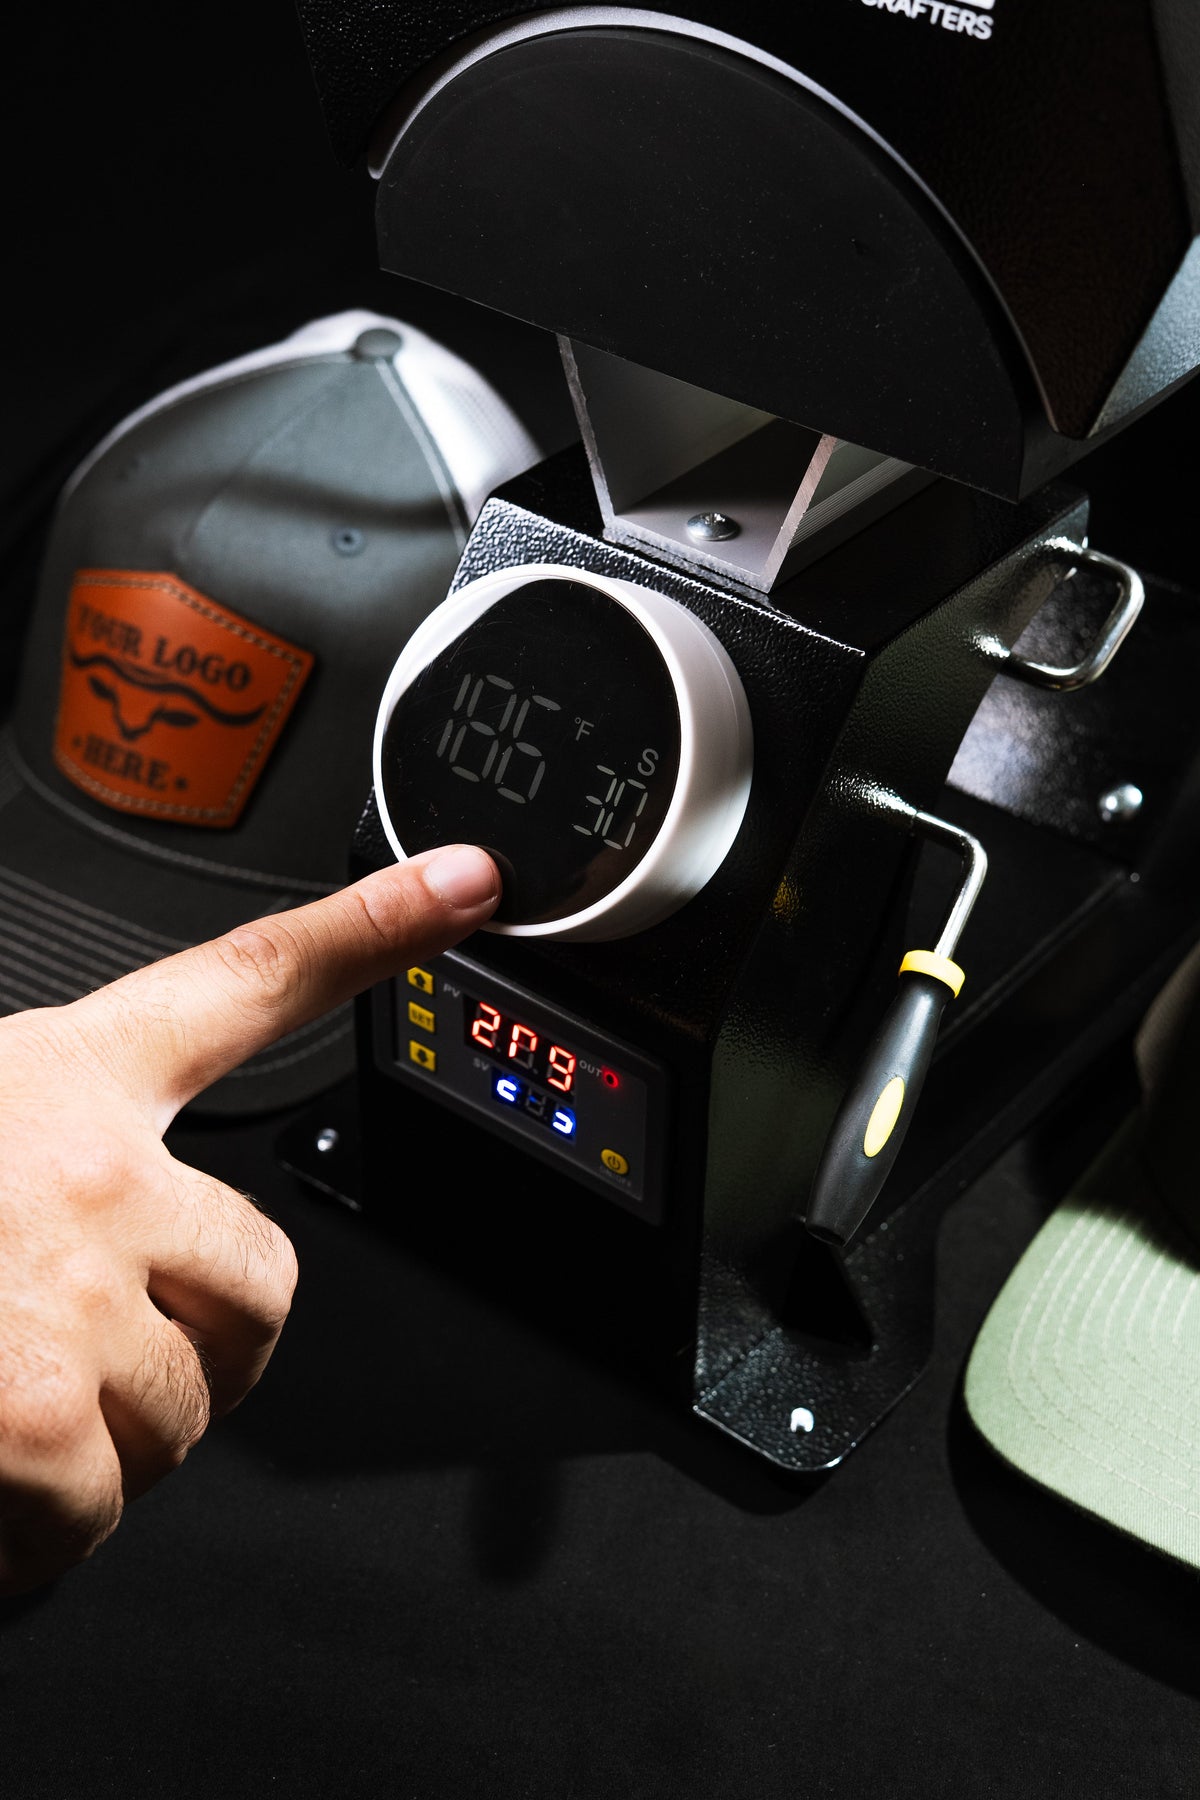
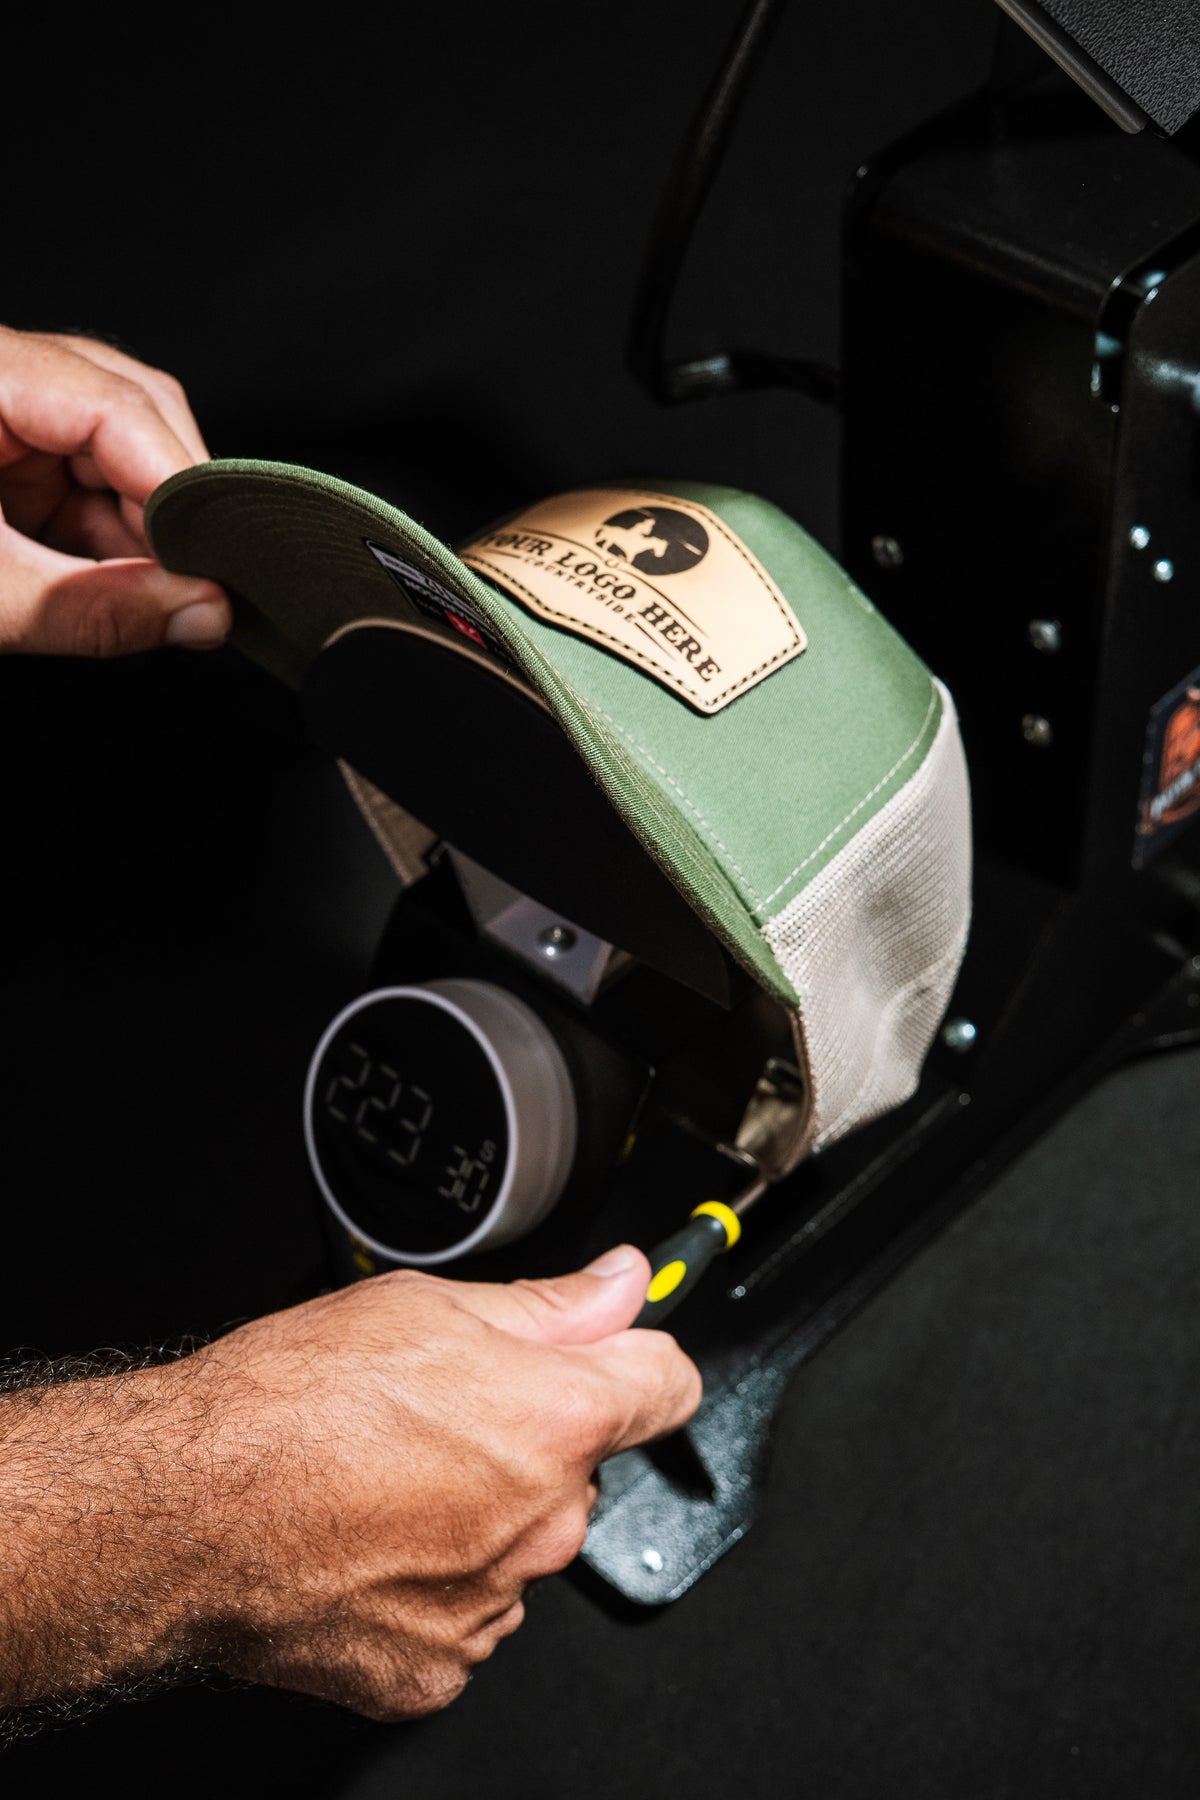
The DuoForge PRO comes with three platen covers that go under the cap and four silicone patch protectors that go over the patch. Choose the platen cover by the front of the cap: #1 for 5-panel caps with a smooth front, #2 for 6-panel caps with a center seam like the Richardson 112, and #3 for caps with a flatter, angular front. Always use Platen Cover #2 with the seam protector, the one with thicker ends. The two 1.5 mm protectors let more heat through, with firm, direct contact. The 3 mm protector cushions and insulates, which suits PVC patches and DTF transfers.
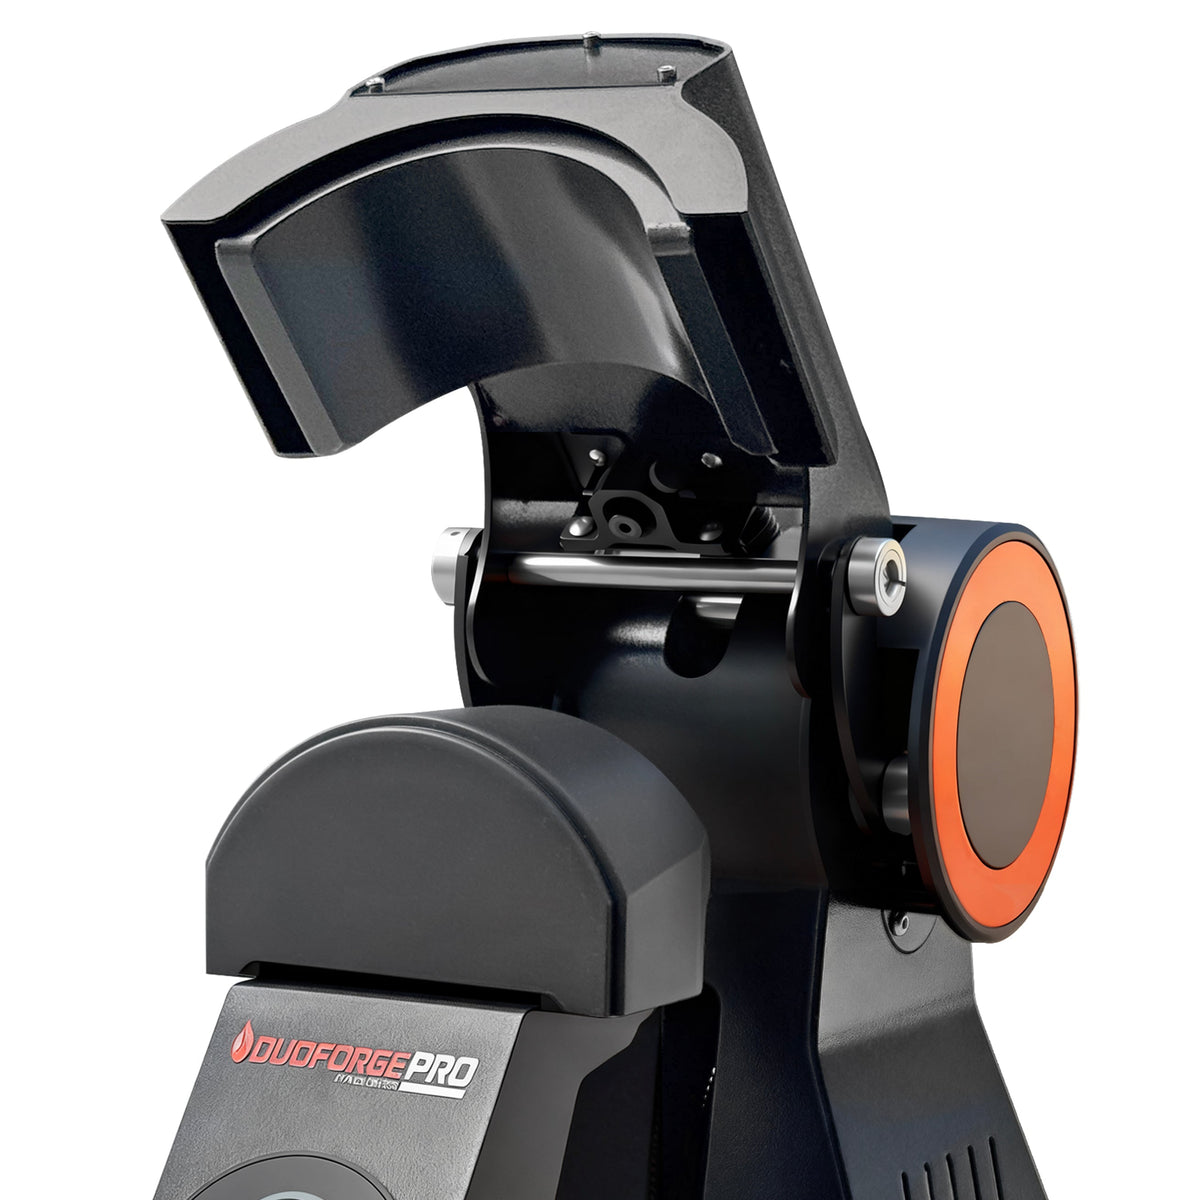
 Platen Cover #2 only fit DuoForgePRO Suitable for (Structured 6 Panel Hats, 112 Richardson, Baseball)$29.90
 Platen Cover #3 only fit DuoForgePRO Suitable for (5 Panel Hats)$29.90
 DuoForge Automatic Dual-Heat platen Cap Heat Press$349.00
 DuoForgePRO Automatic Dual-Heat Cap Heat Press$990.00
On this page
What comes in the box
| Item | Included | Where it goes | What it's for |
|---|---|---|---|
| Platen Cover #1 | 1 | Under the cap | 5-panel caps with a smooth front panel |
| Platen Cover #2 | 1 | Under the cap | 6-panel caps with a center seam, plus flat-bill and unstructured caps |
| Platen Cover #3 | 1 | Under the cap | 5-panel and flat-bill caps with an angular front |
| Seam protector (thicker ends) | 1 | Over the patch | Every press on Platen Cover #2 |
| 1.5 mm patch protector | 2 | Over the patch | More heat, with firm, direct contact |
| 3 mm patch protector | 1 | Over the patch | PVC patches and DTF transfers |
How to choose a platen cover
The platen cover fills the crown from inside and gives the front of the cap something firm to press against. When its shape matches the front of the cap, the whole patch meets the heat at once. When it doesn't, the fabric bridges over the gaps, and those spots get less heat and less contact.
- #1, smooth front: 5-panel caps with a smooth front panel and no center seam.
- #2, center seam: 6-panel caps, where the two front panels meet at a seam, like the Richardson 112. It also fits flat-bill and unstructured caps.
- #3, angular front: 5-panel and flat-bill caps with a flatter front and sharper corners at the sides.
For a flat-bill cap, look at the front: use #2 if it has a center seam and #3 if it doesn't. The covers fit only the DuoForge PRO.
Why Platen Cover #2 always goes with the seam protector
On a 6-panel cap, the two front panels are stitched together down the middle. The seam and the folded fabric under it stand higher than the panels beside it. When the top platen closes, it meets that high point first. If nothing makes up the difference, the seam takes most of the contact and the sides of the patch get less, which is where edges start to lift. Lifting edges have other causes too, covered in Why Hat Patches Peel Off.
Platen Cover #2 supports the seam from inside the cap. The seam protector evens things out from above: it's thinner in the middle and thicker toward the ends. With the thin middle on the seam, the seam settles into it and the thicker ends fill the gap at the sides, so the patch gets even contact from the center to the edges.
How to use it:
- Put Platen Cover #2 on the lower platen.
- Load the cap with its center seam centered on the cover, then place the patch.
- Lay the seam protector across the front of the cap, with the thin middle on the seam and the thicker ends toward the sides.
- Press with your usual settings.
1.5 mm or 3 mm: how to choose a patch protector
A patch protector keeps the hot top platen off the face of the patch. Its thickness decides how much heat gets through and how the contact feels.
| 1.5 mm (2 in the box) | 3 mm (1 in the box) | |
|---|---|---|
| Heat reaching the patch | More | Less: the thicker silicone insulates |
| Contact | Firm and direct, with little cushioning | Cushioned and spread evenly over raised or textured areas |
| Made for | Jobs where you want the most heat and the most direct contact | PVC patches and DTF transfers |
Why the 3 mm suits PVC and DTF. PVC patches have raised, molded detail, and a DTF transfer has to meet the fabric everywhere, including over texture and stitching. A thicker, softer layer gives around those high and low spots instead of bridging over them, so the contact stays even. It also insulates more, so less heat reaches the face of the patch.
Switching protectors changes the heat. The 3 mm protector lets less heat through than the 1.5 mm, so test on a sample cap whenever you switch.
Caring for covers and protectors
- Let them cool before you handle or store them.
- Wipe off residue with a soft cloth. Avoid sharp tools and harsh chemicals.
- Store them flat in a clean, dry place so they keep their shape.
FAQ
Can I use Platen Cover #2 without the seam protector?
No. Without it, the raised center seam takes most of the contact and the sides of the patch can lift. Use the seam protector every time you press on Platen Cover #2.
Which platen cover should I use for a Richardson 112?
Platen Cover #2, with the seam protector. The Richardson 112 is a 6-panel cap with a center seam.
Which patch protector should I use for PVC patches and DTF transfers?
The 3 mm protector. It cushions raised and textured areas, spreads contact evenly and insulates the face of the patch.
Do the platen covers fit the original DuoForge?
No. Platen Covers #1, #2 and #3 fit only the DuoForge PRO. The DuoForge uses its own round silicone base.
What temperature should I start with on the DuoForge PRO?
For standard leather and patches, start at 300°F on top and 320°F on the bottom. For thin patches and DTF, start at 280°F on top and 220°F on the bottom. Test on a sample cap first, and text us at (405) 937-1596 for the rest of the settings.
Can I buy a spare platen cover?
Yes. A spare Platen Cover #2 or Platen Cover #3 is sold separately. Both fit only the DuoForge PRO.
Questions about your setup? Text us at (405) 937-1596, Mon–Sat, 8am–6pm CT. To compare both presses, see DuoForge vs DuoForge PRO, or go to the DuoForge PRO page.