
How to Make Leather Patch Hats at Home, Step by Step
From artwork to a finished cap: engrave, cut and press leather or leatherette patches at home, with or without a laser.
Quick answer
To make a leather patch hat at home, engrave your logo on leatherette or full-grain leather with a laser, cut out the patch (or use a pre-cut blank), make sure it has heat-activated adhesive on the back, and press it onto a structured cap with a cap heat press. On a dual-heat press like DuoForge that's 300°F on top and 320°F on the bottom: pre-heat the cap for 25 seconds, then press the patch for 25 seconds. No laser? Order patches already engraved and just do the pressing.
 Blank Full-Grain Leather PatchesFrom $3.20
 Leatherette Blank Thick PatchesFrom $2.80
 Patch Crafters Adhesive Roll (12" Wide) - By the Yard$14.00
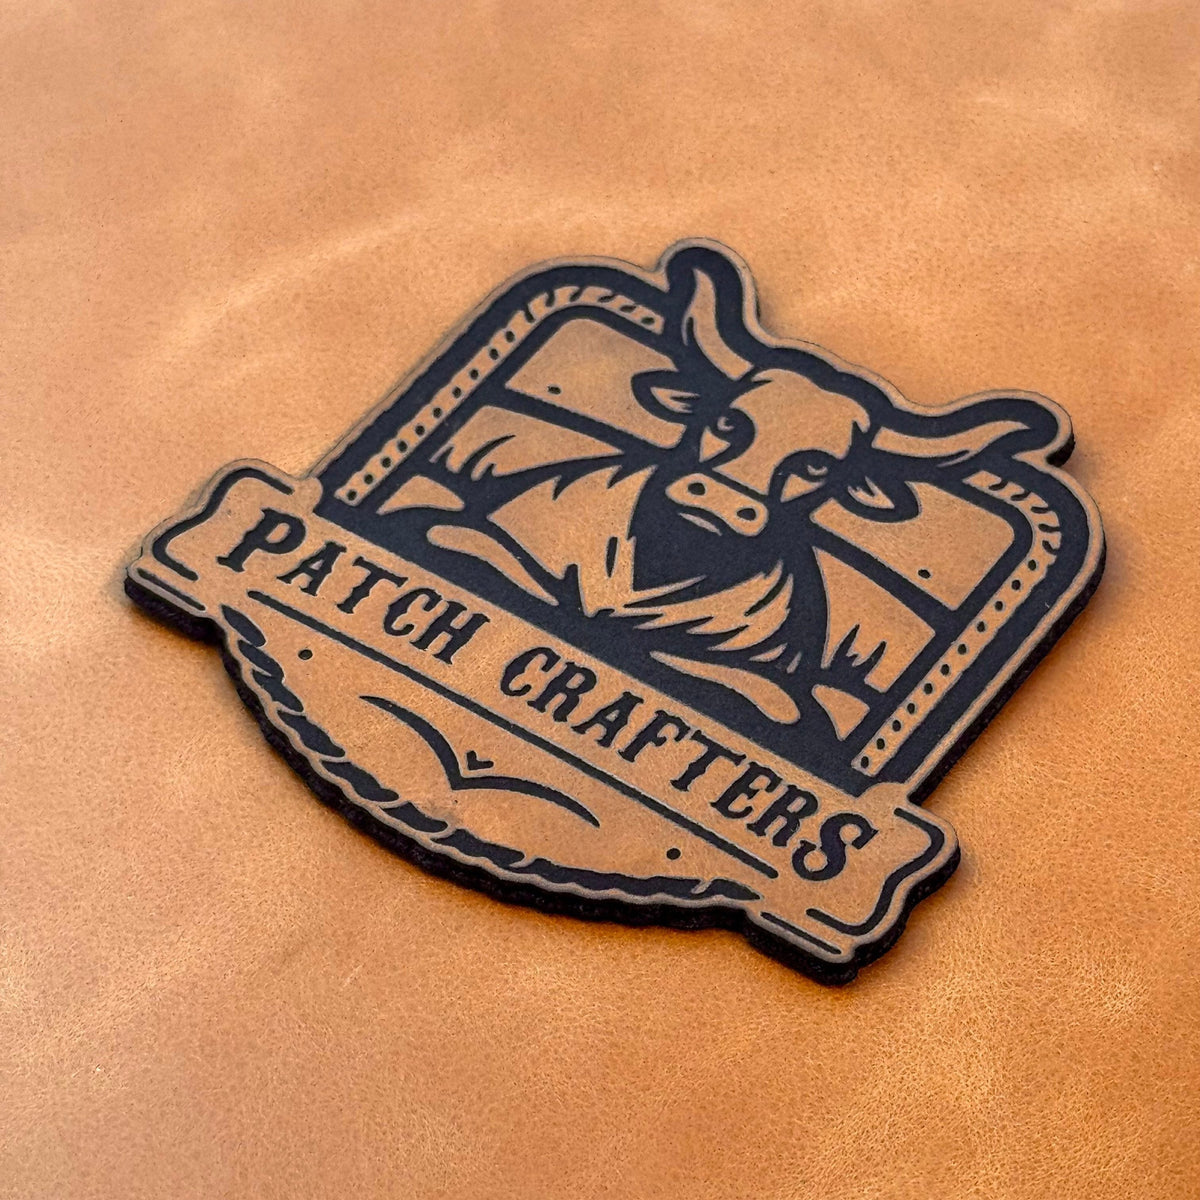
 Custom Leather Patches$4.90
On this page
What you need
| Tool or material | Options | Notes |
|---|---|---|
| Laser | Diode, CO2, fiber or UV | Our leatherette works with all four. Full-grain leather is thick, so low-power lasers may struggle to cut it. |
| Patch material | Leatherette sheets, pre-cut leather blanks or pre-cut leatherette blanks | Pre-cut blanks skip the cutting step. |
| Adhesive | Already applied, or an adhesive roll for material that has none | Our sheets and blanks come with heat-activated adhesive. |
| Heat press | A cap press, ideally with heat top and bottom | Thick patches bond best with heat from inside the cap. |
| Caps | Structured truckers | See the best hats for leather patches. |
| Extras | Heat-resistant gloves, tape, a patch protector | Helpful once you press more than a few caps. |
Step 1: prepare the artwork
Use a vector file (SVG, AI, PDF or DXF) when you can, or a sharp, high-resolution image. Engraving is one color, so simplify the logo to one tone, thicken thin lines and keep text bold. Size it to your patch: most patches on a Richardson 112 are 2.5"–3.5" wide (see the hat patch size guide).
Step 2: engrave
Leatherette is made in two layers: engrave through the top color and the contrasting color underneath appears. Before a full sheet, engrave a small test grid on a scrap of the same color, with a few power and speed combinations, and pick the square with clean, even contrast and no scorching. Every color and every laser behaves a little differently. After engraving, wipe the surface to remove residue.
Step 3: cut the shape
Cut the outline with the laser, or skip this step by engraving pre-cut blanks. If your laser can't cut cleanly through full-grain leather, engrave pre-cut leather blanks instead.
Step 4: check the adhesive
Our blanks have heat-activated adhesive applied in our shop, with no liner: the film on the back is the adhesive, so don't peel it off. It's an easy mistake to make. If your material has no adhesive, add it with an adhesive roll and follow the instructions that come with it.
Step 5: press the patch
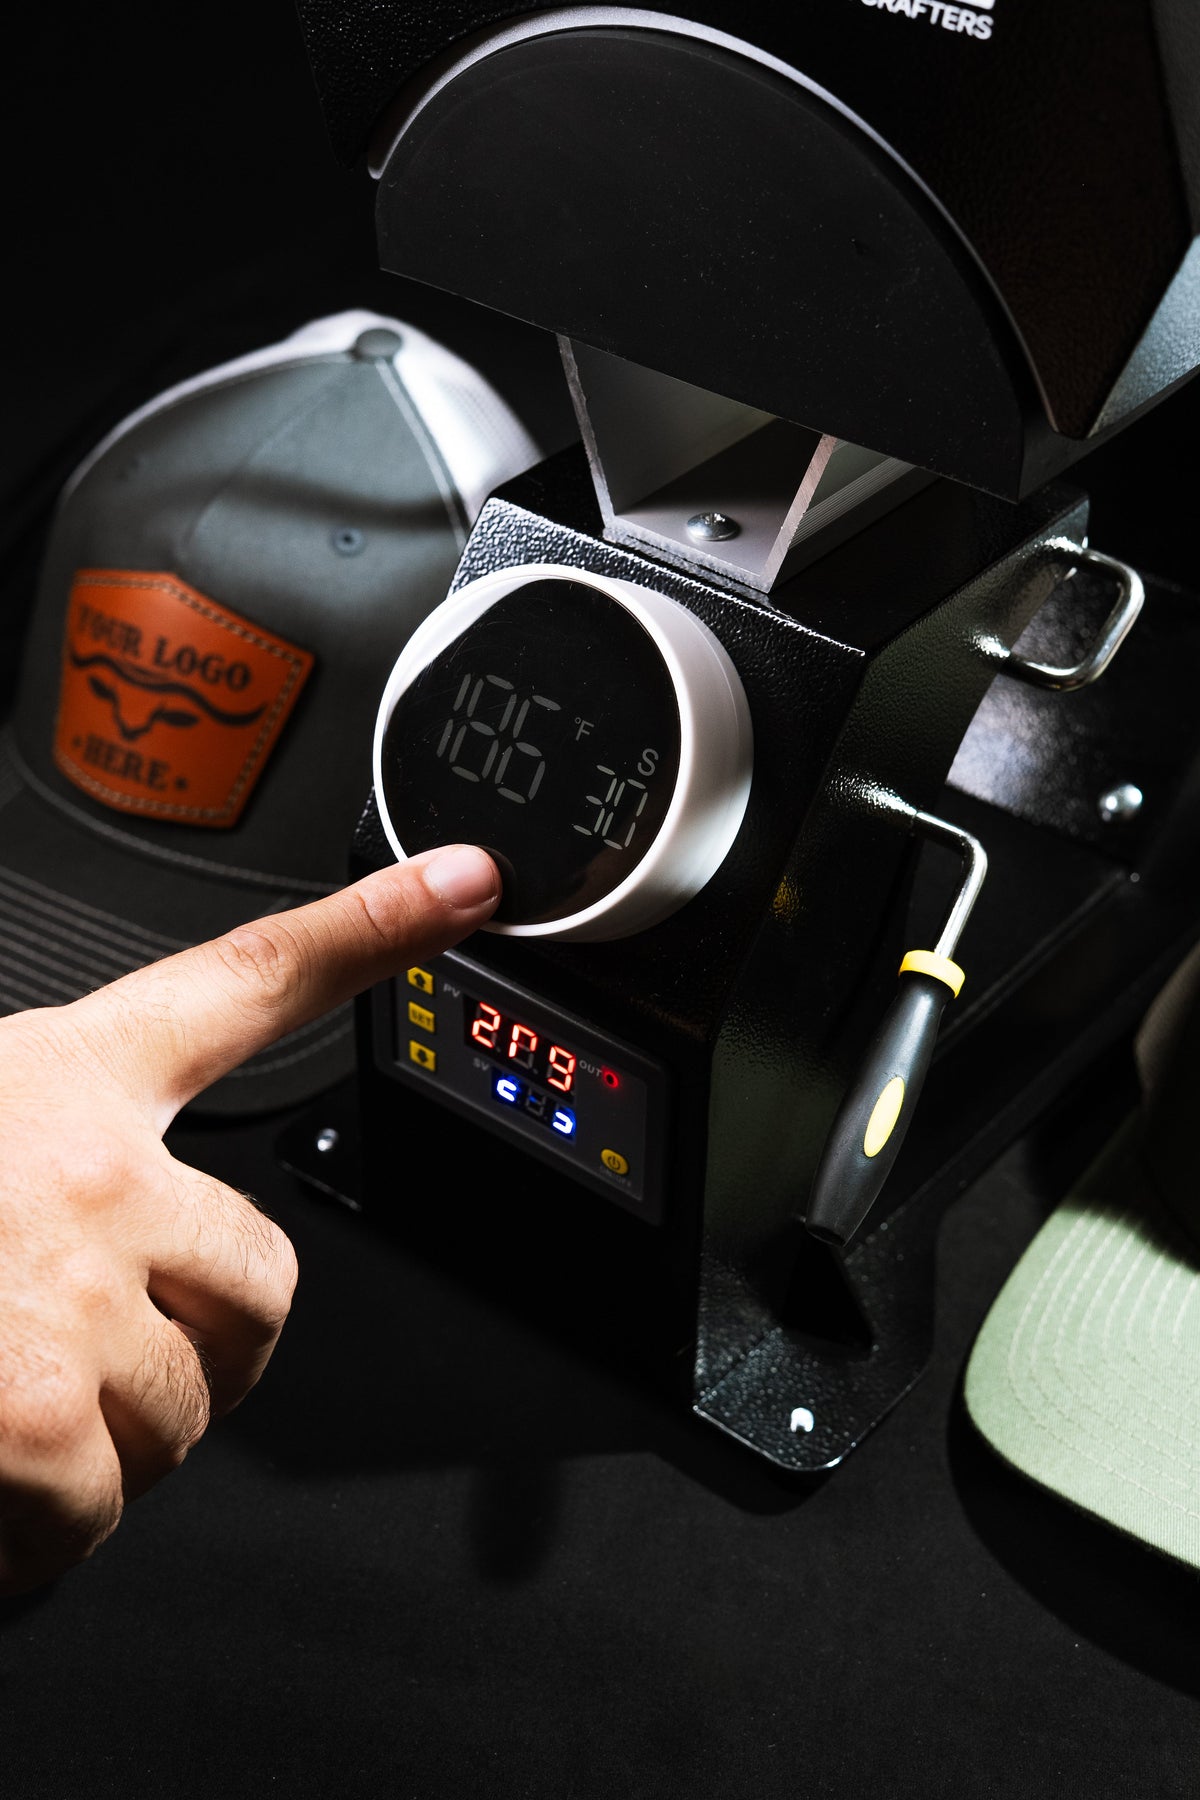
- Set the temperatures. On DuoForge: 300°F top, 320°F bottom.
- Pull the cap over the lower platen so the front is smooth and centered.
- Pre-heat the cap without the patch for 25 seconds to drive out moisture.
- Place the patch, using tape or an alignment laser to keep it straight.
- Press for 25 seconds.
- Let it cool for a few seconds and check the edges. If an edge lifts, press again for 5–10 seconds.
On a press with heat only on top, leatherette takes a 30-second pre-heat and a 25-second press at 300°F. Settings for every material and press are in the hat patch heat press chart.
No laser? Three ways to start anyway
- Order custom patches. We engrave custom full-grain leather patches with your logo (minimum 12 per design); you press them.
- Sew instead of press. If you don't have a press yet, choose materials without adhesive and sew the patch on.
- Start with samples. A few samples let you practice pressing before you invest in a laser.
Mistakes that ruin a batch
- Peeling off the adhesive film on the back of the patch.
- Skipping the cap pre-heat, so moisture in the fabric weakens the bond.
- Turning up the top heat to make up for no bottom heat, which can scorch or shine the patch face.
- A patch that's too big for the cap, so its edges ride onto the side panels and lift.
- Pressing a whole order before testing one cap.
FAQ
Can I make leather patch hats with a Cricut?
A cutting machine can cut shapes, but it can't laser-engrave a logo into leather or leatherette. For the engraved look you need a laser, or engraved patches from a supplier.
Can I use a household iron instead of a heat press?
We haven't published tested iron settings for caps. A cap press applies even heat and pressure across the curved front of a cap, which is hard to do with an iron.
Should a beginner start with leather or leatherette?
Leatherette is the easier start: it engraves with high contrast, costs less per patch and looks the same from sheet to sheet.